Installing a Cloudogu EcoSystem
- Preparations
- Setup steps
- 1. Start Setup Wizard
- 2. Registration (CES Instance Registration)
- 3. Region (Set region specific settings)
- 4. Naming (FQDN, Hostname, Domain and Certificates)
- 5. Unattended Upgrades (Control the update routine for your VM)
- 6. User Backend (Configure your directory service)
- 7. Dogu (Choose your Dogus)
- 8. Admin (Configure the Administrator)
- 9. Setup
- Open the Dogus in your Cloudogu EcoSystem
Hello and thank you for your interest in our Cloudogu EcoSystem.
If you have any suggestions or questions, please contact us via e-mail at hello@cloudogu.com or by phone at +49. 531. 61 80 88 80.
Where can you get your image?
The easiest way to set up a Cloudogu EcoSystem is to download an image via the Cloudogu platform.
You only need a free account on the platform, which can then also be used to register the instance during the installation.
Download options
Preparations
In order to get started with the Cloudogu EcoSystem, you first need a virtualization environment to operate it. This can be either locally on your computer or on a server in a data center. For local operation, you ideally have a powerful computer. We recommend a CPU with 4 cores and 16 GB RAM for the VM.
Your hosting provider may have instructions on how to load and use third-party images on your system. If you are not running the image on a server, you can use these virtualization tools.
Setup steps
After you successfully imported the virtual machine, you should check that machine’s network adapter is set to bridged or Network bridge. After that you can start the machine in your virtualization environment and begin with the setup.
1. Start Setup Wizard
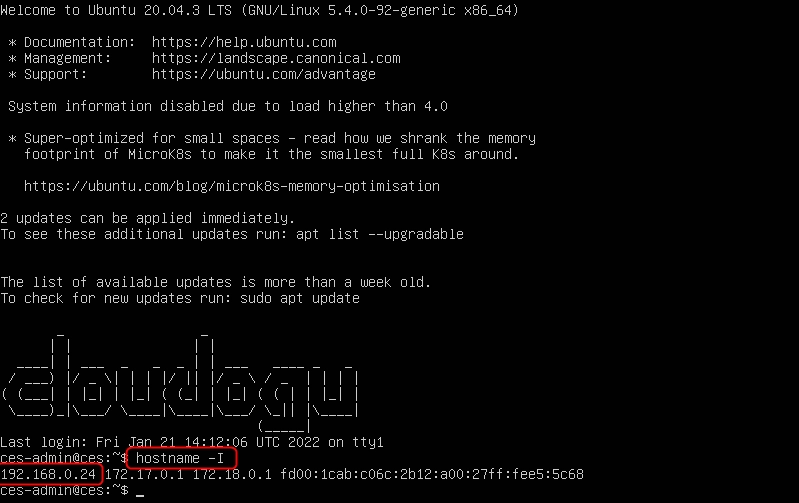
The setup for the machine is now available under http://192.168.0.56:8080. If this is not the case, your network assigned a different IP to the machine. To find out the IP address, you have to log into the machine using the CLI. The login credentials for the machine are username ces-admin and password ces-admin.
After the login you can see the IP address of the machine with the command hostname -I. The setup wizard is available under http://ip-address:8080.
Hint: The keyboard layout of the machine is English, so you might have trouble with the “-“.
Important: The password of the ces-admin user will be changed to a random string at the end of the setup process, which you will be informed about.
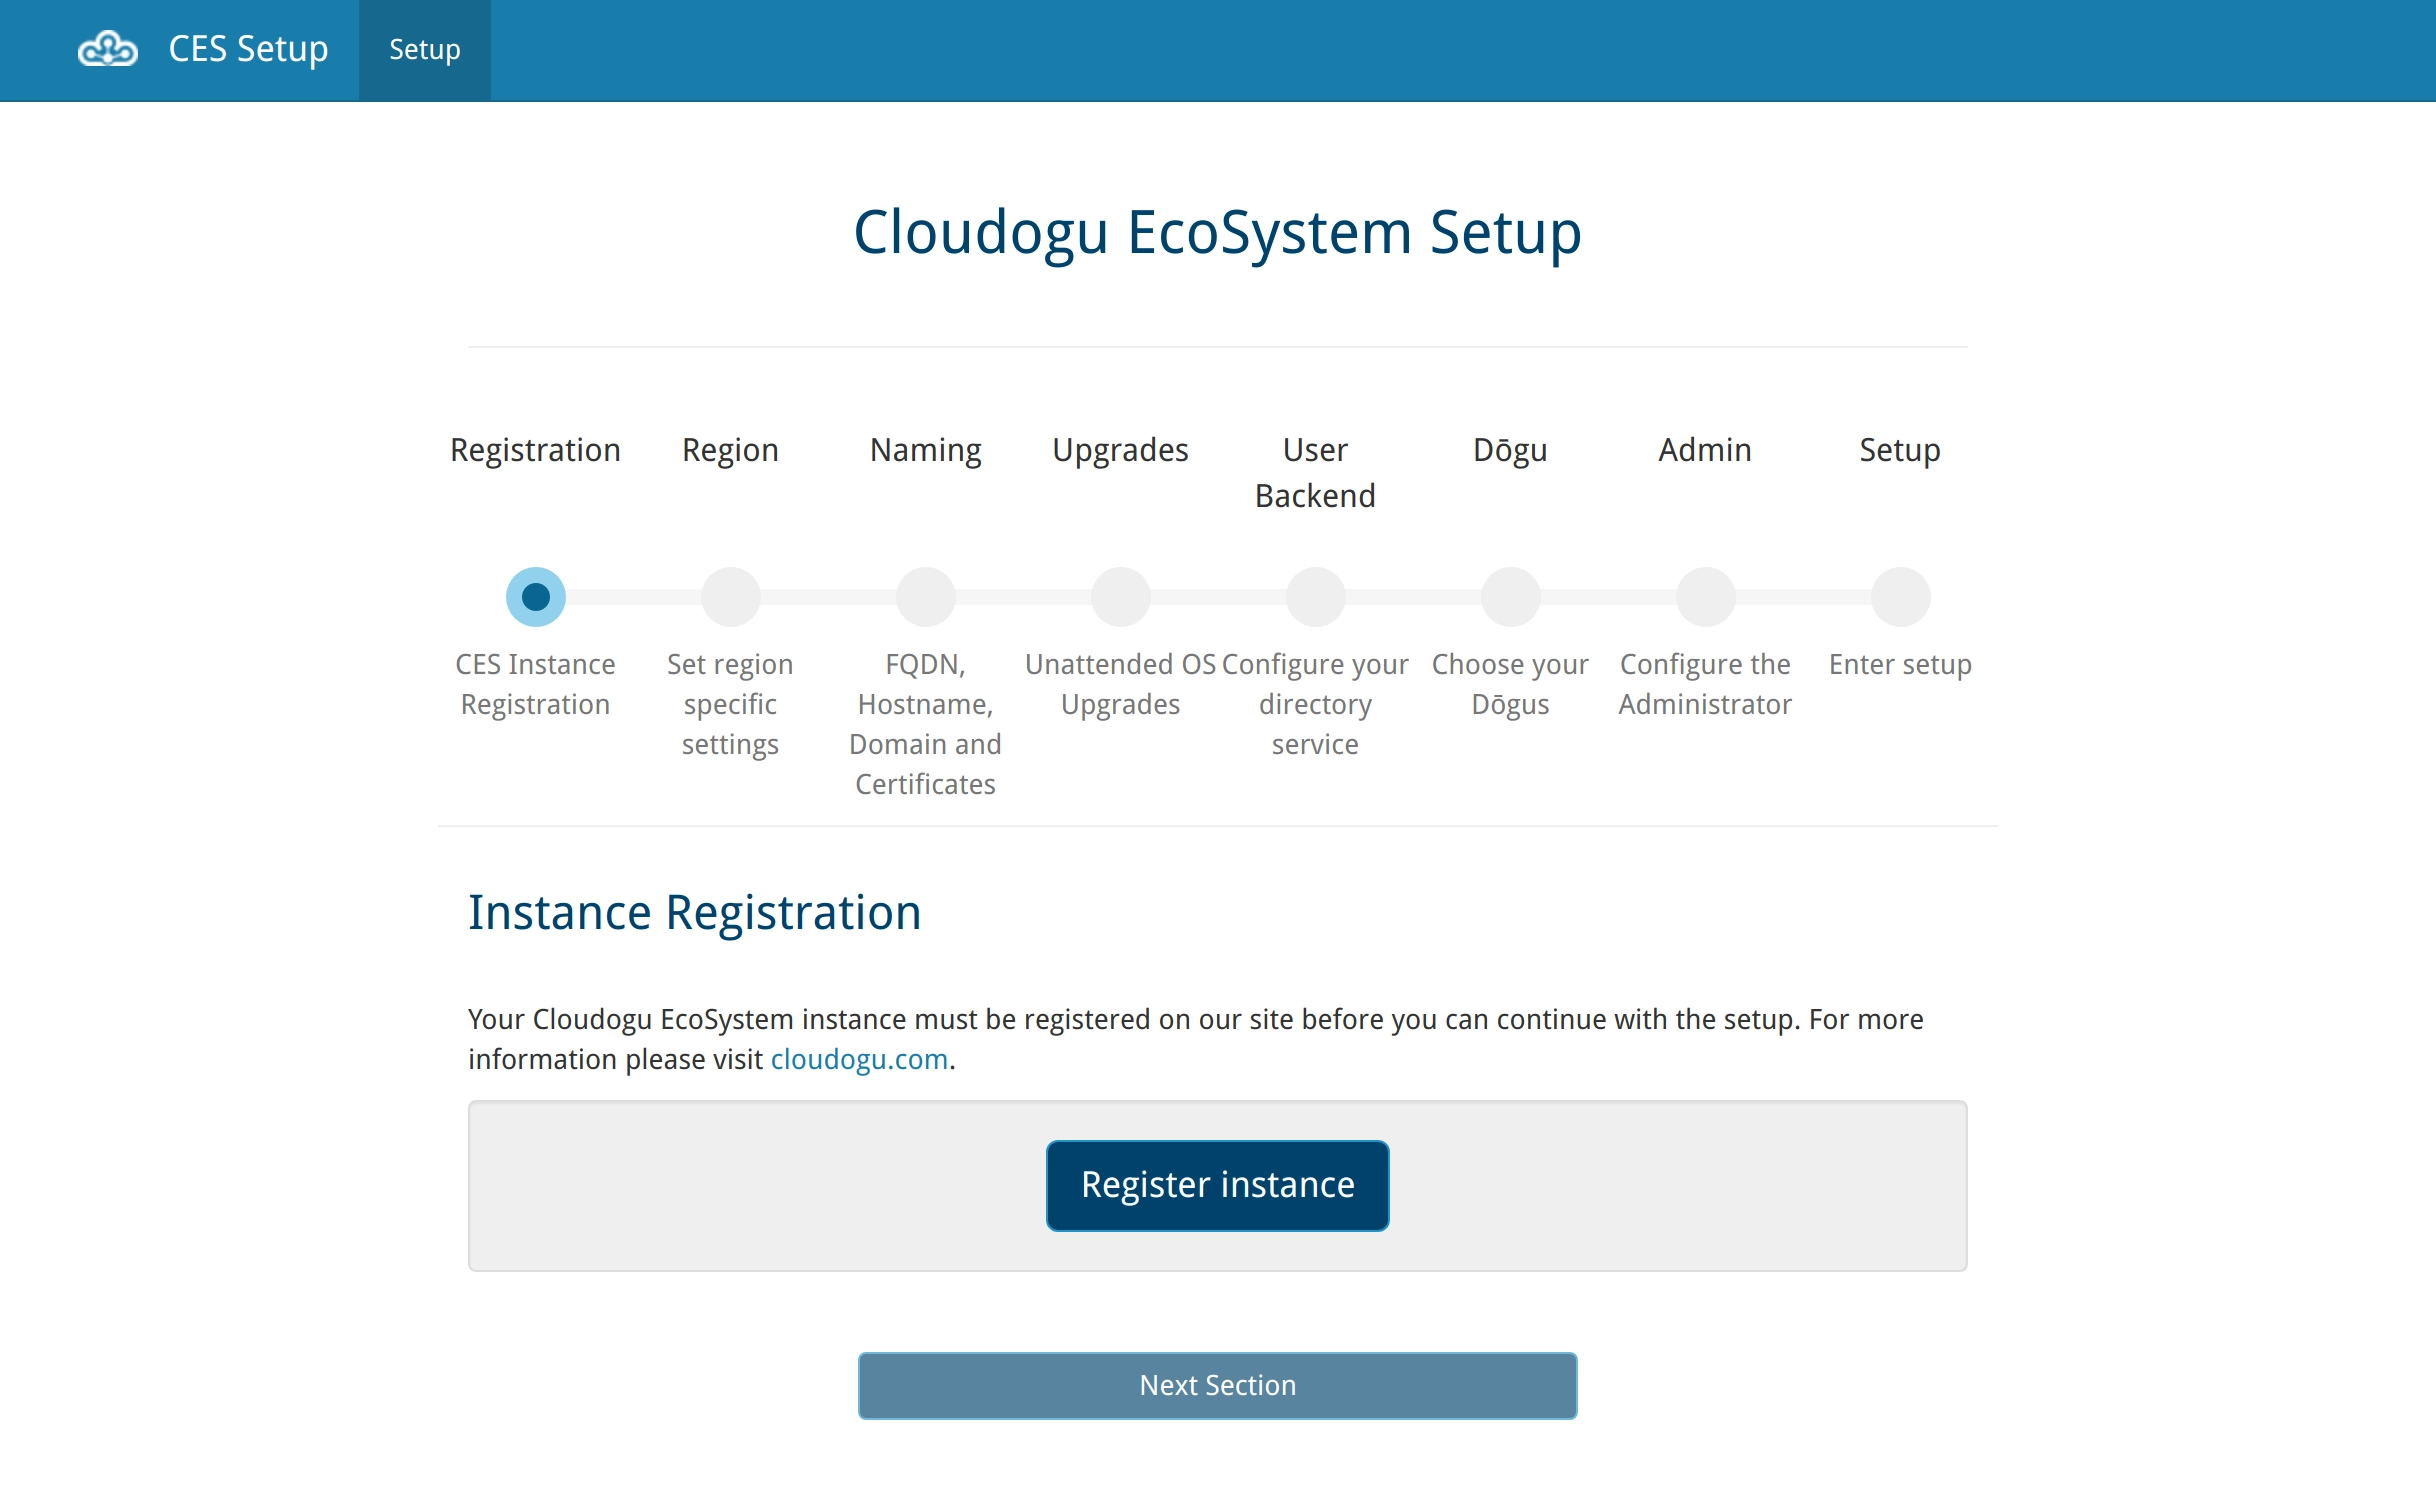
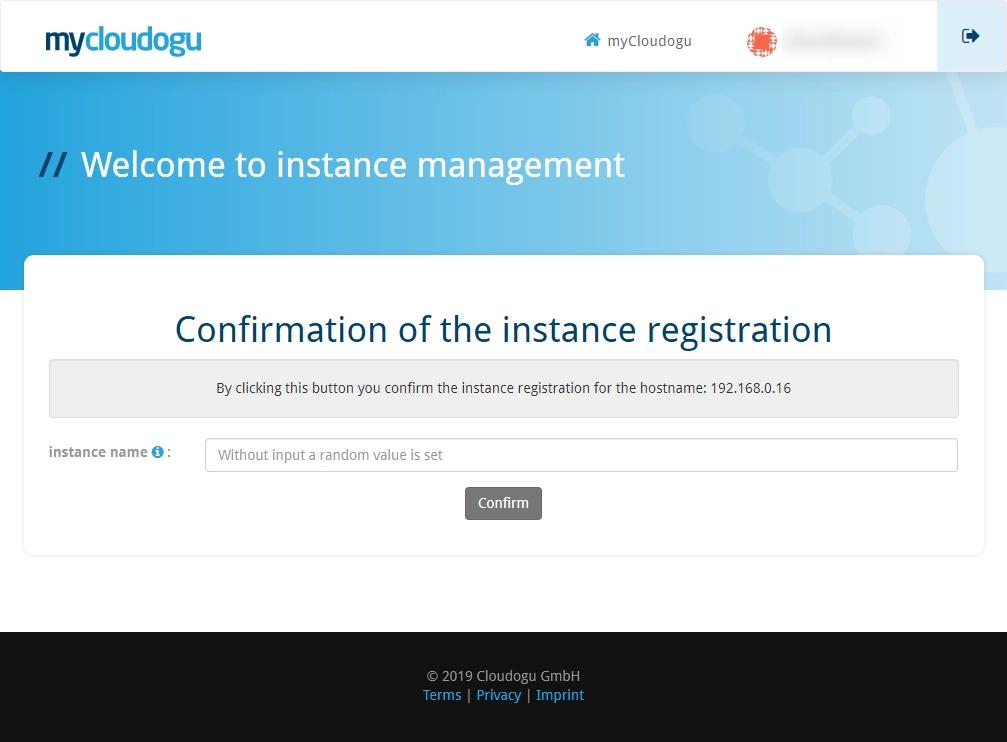
2. Registration (CES Instance Registration)
Now you can start the setup using “Register instance”. The registration of your instance grants you access to the Dogus that are provided.
You can use your Cloudogu platform account to register your instance. If you do not have an account yet, please create one on the Cloudogu platform. A very quick way to register is to sign in using your GitHub or Google account.
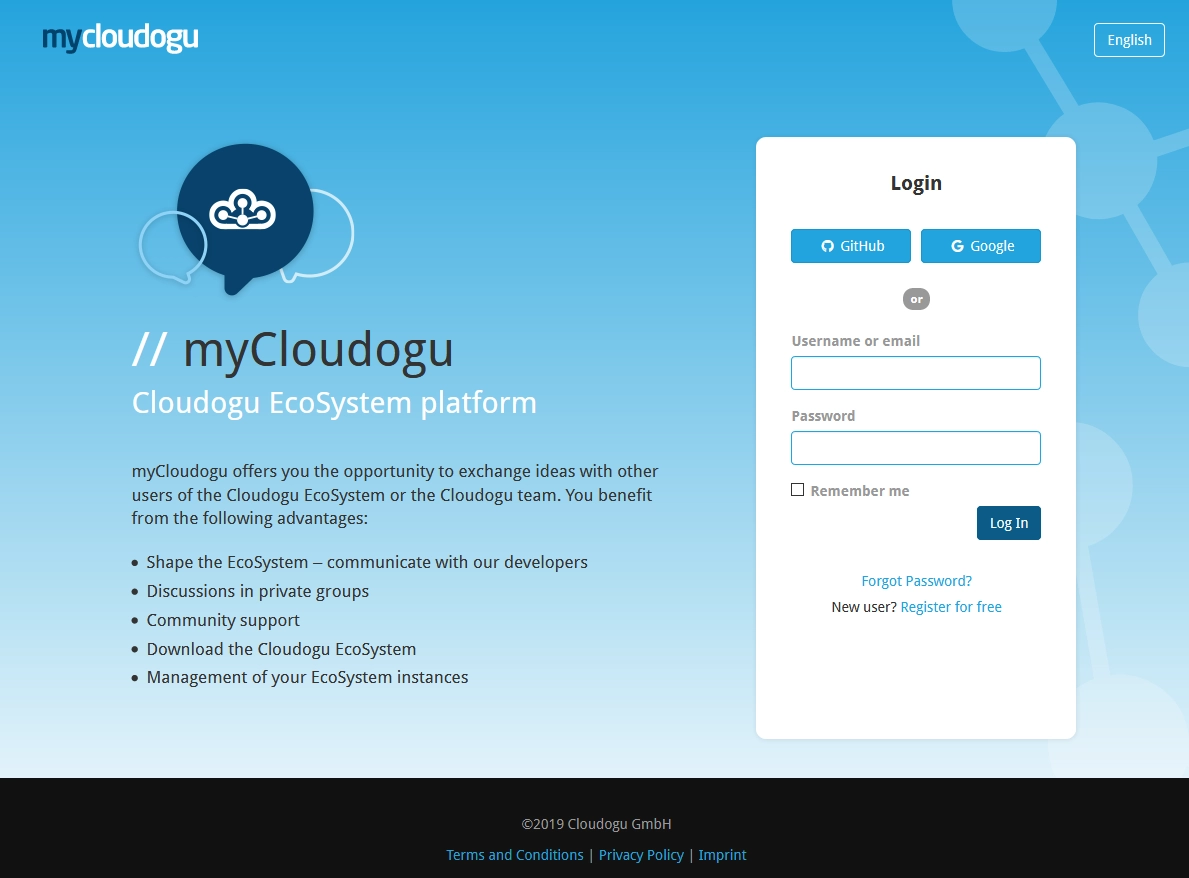
Then confirm the registration of your EcoSystem instance under your account. All EcoSystem instances you have registered can then be found in your instance overview on the Cloudogu platform.
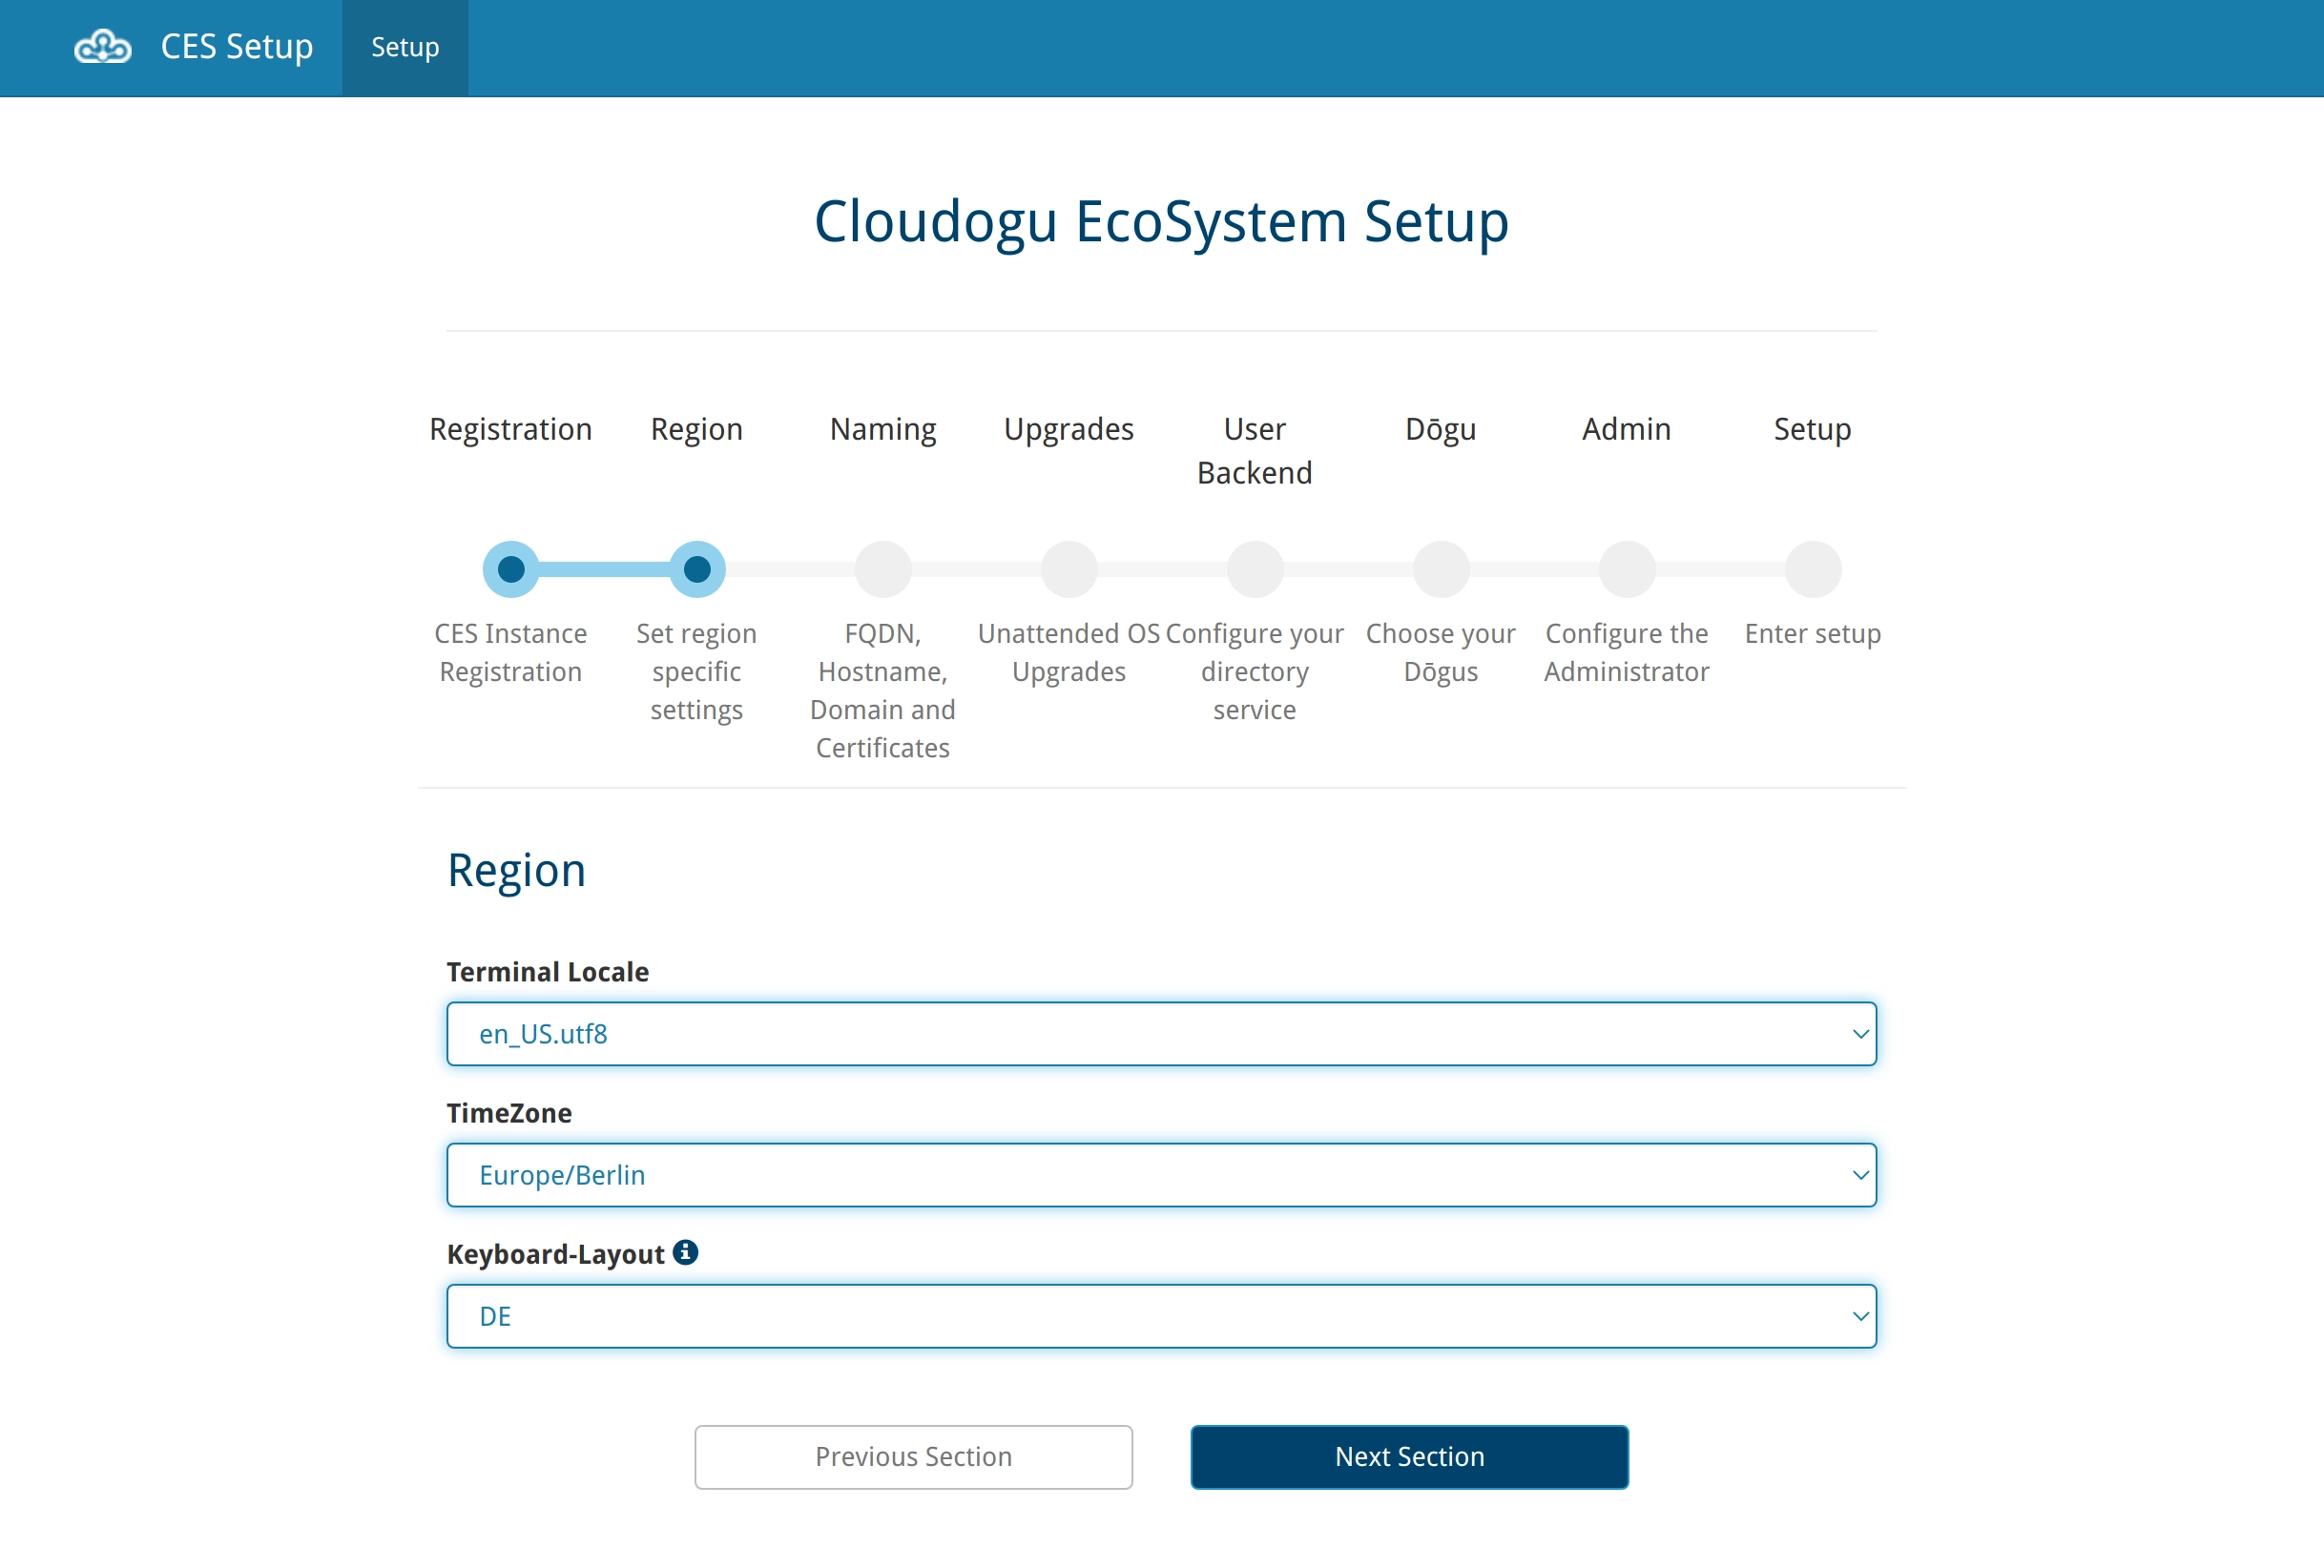
3. Region (Set region specific settings)
After you complete the registration process, you will start to configure your instance. The first step is to determine the region of your instance.
4. Naming (FQDN, Hostname, Domain and Certificates)
In the next step, we will need information about the accessibility of your instance and e-mail sending settings. If you want install a system on your local machine for testing purposes, you may use the examples provided here.
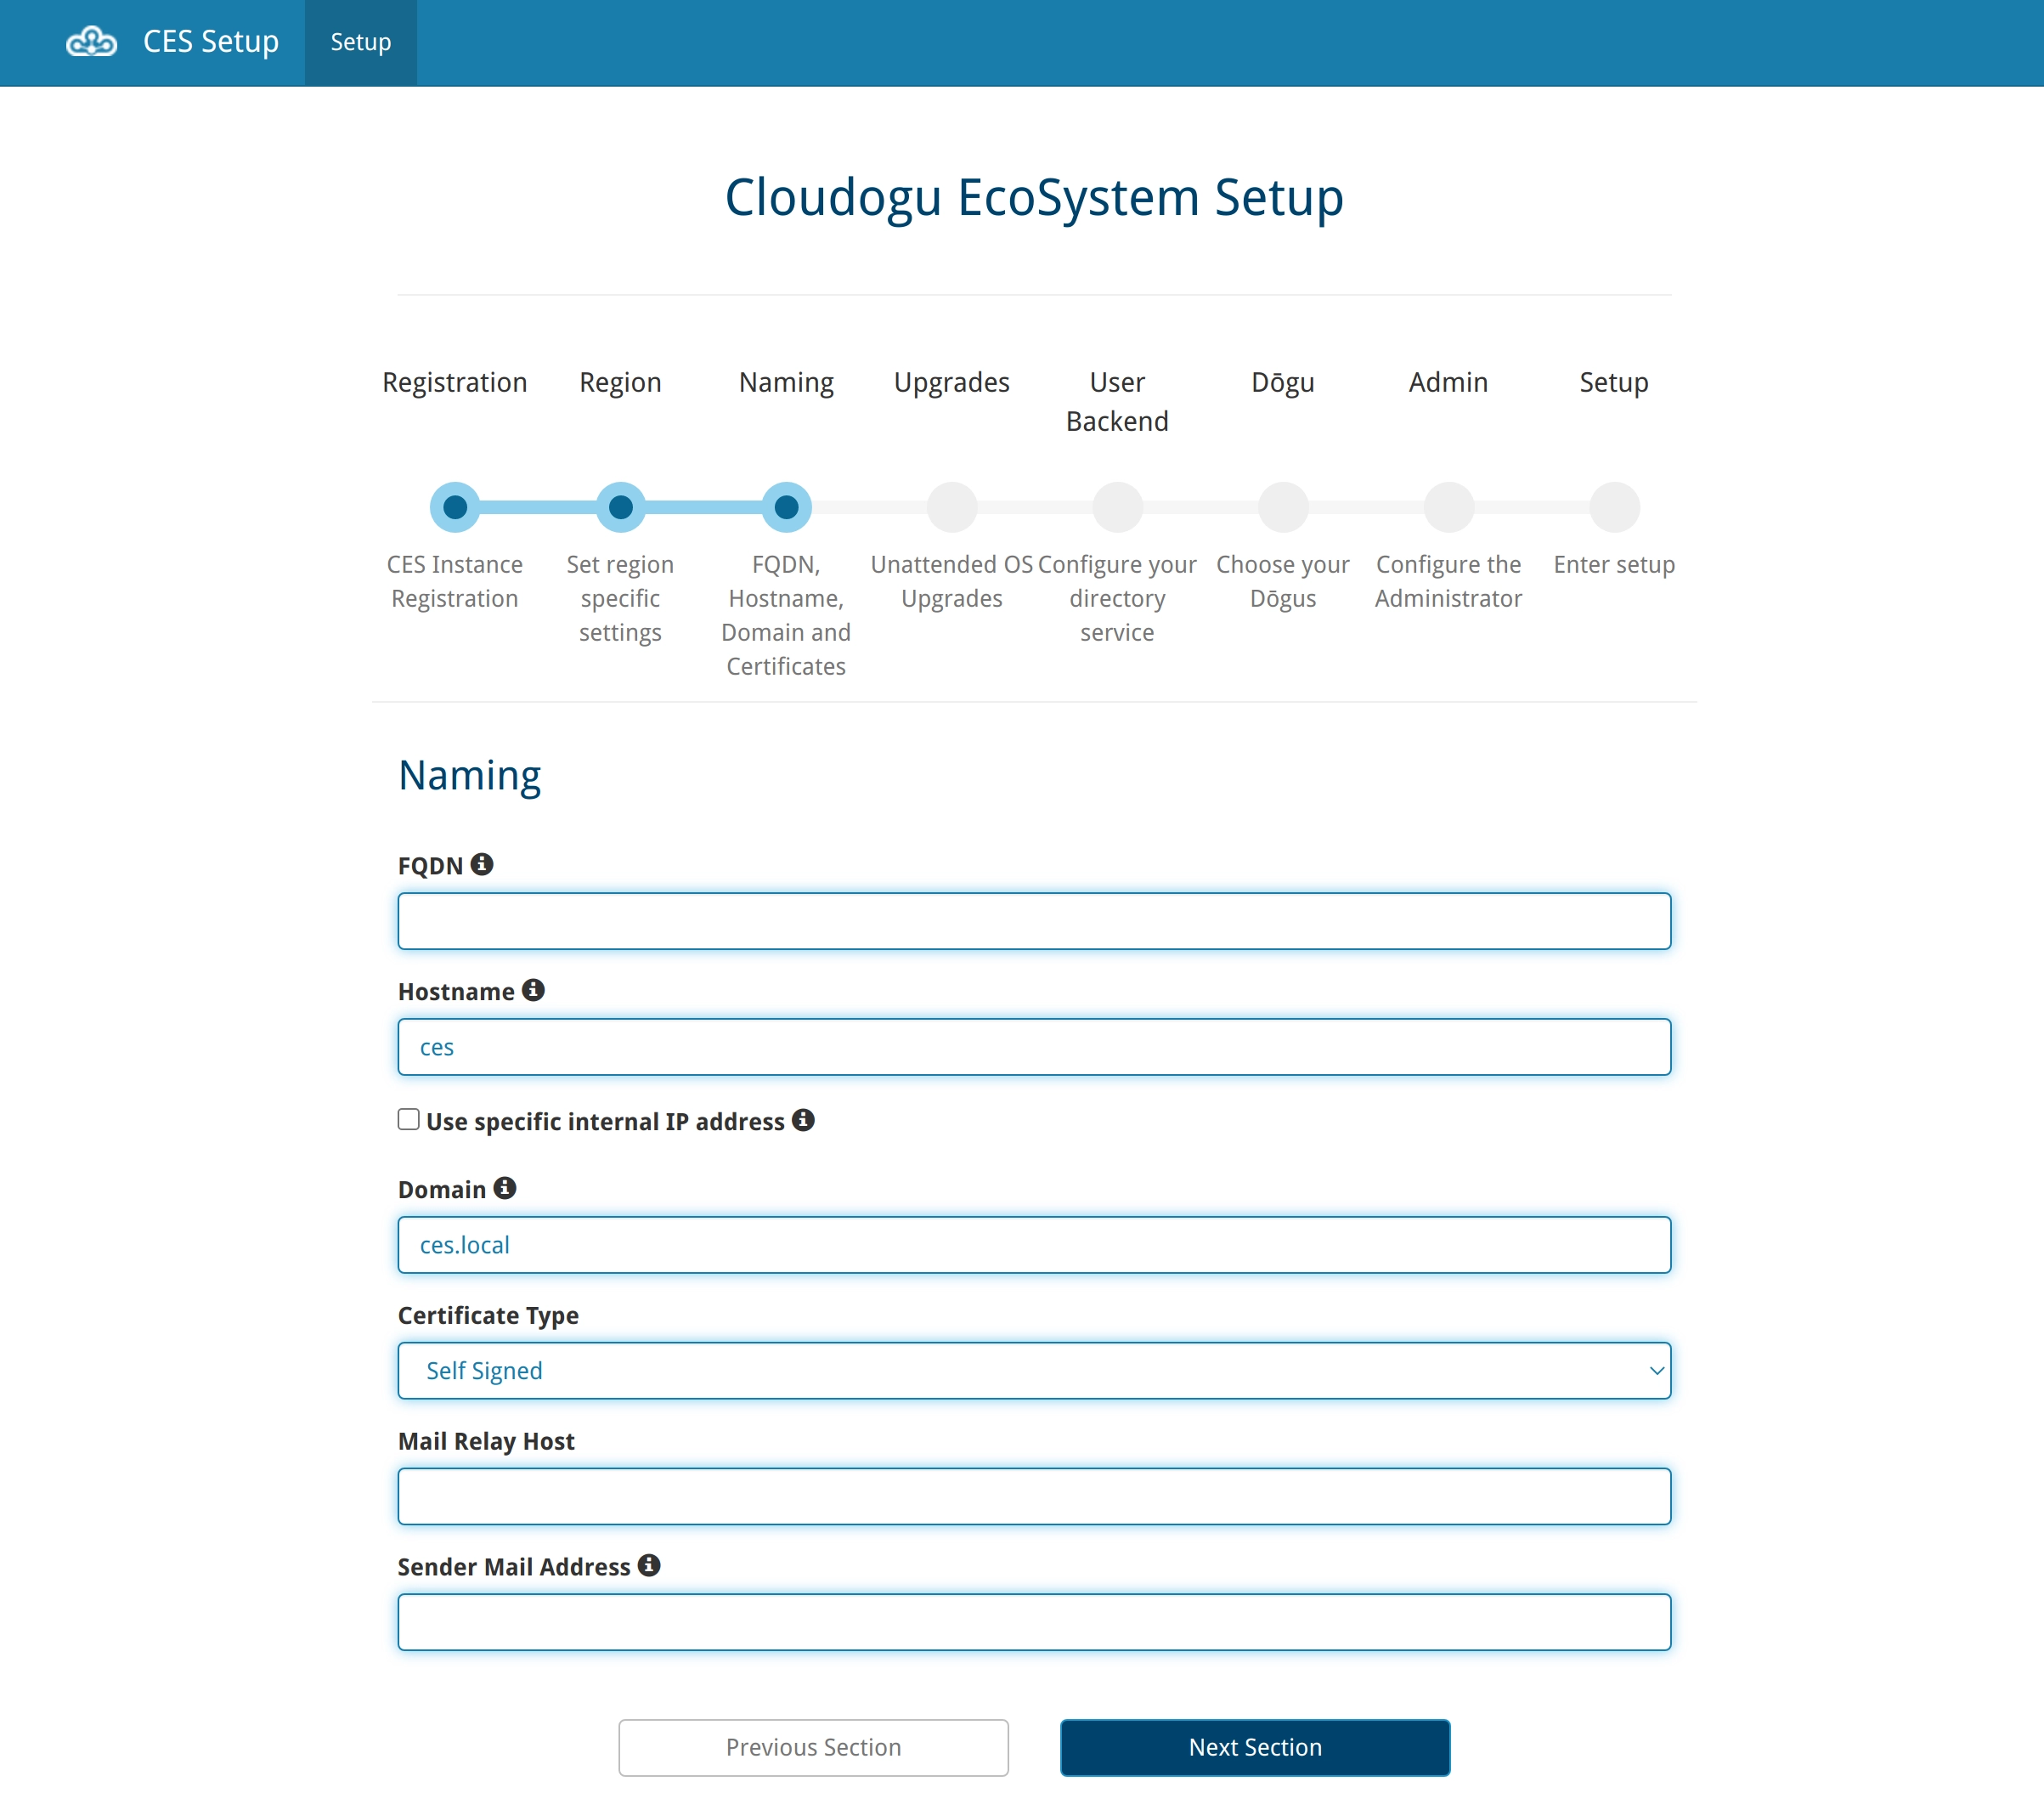
Note FQDN: The FQDN (Fully Qualified Domain Name) is resolved to the address of your EcoSystem by the DNS. You may use the IP of your machine or enter a custom FQDN. It is recommended to use a combination of hostname and domain, if you use a subdomain for your EcoSystem. Example: hostname “ecosystem“ and domain “my-domain.com” result in the FQDN “ecosystem.my-domain.com”. Your EcoSystem can always be reached by its IP address.
Note Hostname: Choose an internal name for your EcoSystem. You may use alphanumerical characters and “-”. For example: “ecosystem“.
Note Use specific internal IP address: If your FQDN resolves to a different external IP than the internal IP address of your machine, you can activate this option and specify the internal IP address which resolves services inside the EcoSystem. This way a split DNS setup for the host is possible.
Note Domain: Enter the domain for your EcoSystem, for example: “my-domain.com“. If you want to use the EcoSystem on your local machine you can use the default “ces.local”
Note Certificate Type: If you don’t have any SSL certificates for your instance yet, you can select “Self Signed”. However, we recommend that you use third-party certificates for a live production-ready system.
Note Mail Relay Host: The Cloudogu EcoSystem can only send e-mails if a valid mail server is specified. The mail relay host can be specified both as an URL and as an IP address. However, if you enter an incorrect mail relay host, such as for test purposes, for example, then this is not a problem.
5. Unattended Upgrades (Control the update routine for your VM)
The unattended upgrades keep your EcoSystem up-to-date and reduce maintenance effort. These unattended upgrades only upgrade system packages of the operating system. Automatic Dogu upgrades are not included. Please select your desired behavior for unattended upgrades.
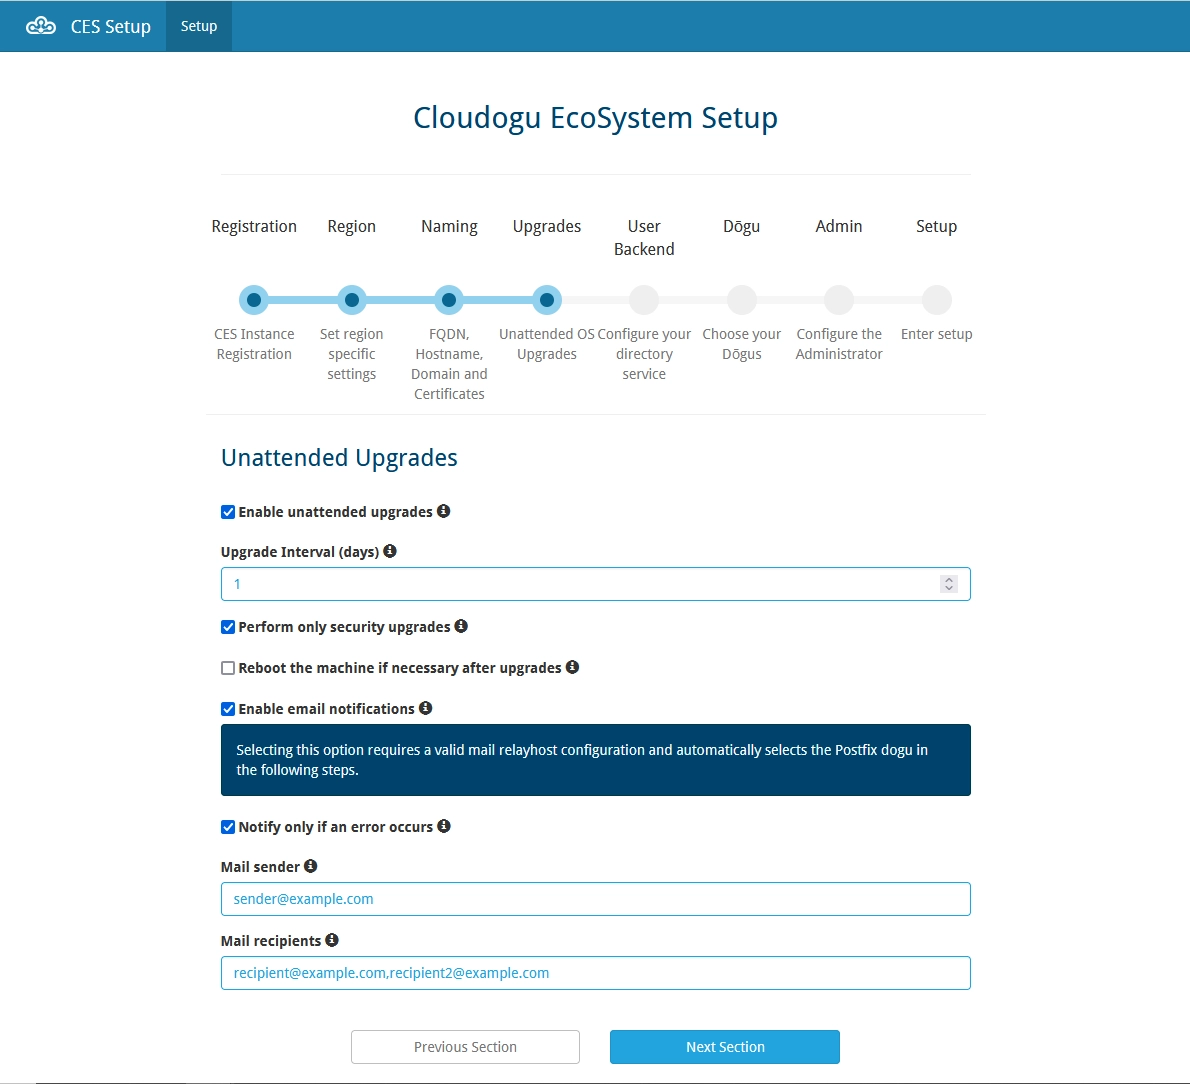
Note Upgrade Interval: Controls the interval in days for executing the unattended upgrades. A value of “7” would perform the updates once a week.
Note Security Upgrades: You can select to only include security-related upgrades when the unattended upgrades are performed.
Note Reboot Behavior: Define the time to reboot your EcoSystem after an upgrade requires so. It is also possible to deactivate the automatic reboot behavior to minimize the downtime. However, doing so could prevent some upgrades from being effective.
Note E-Mail Notifications: The EcoSystem can notify you about every result of an unattended upgrade via e-mail. The e-mail contains various important information including the upgraded packages, if a reboot is required or if any error occurred. This feature requires a valid “Mail Relay Host” configuration in the “Naming” step.
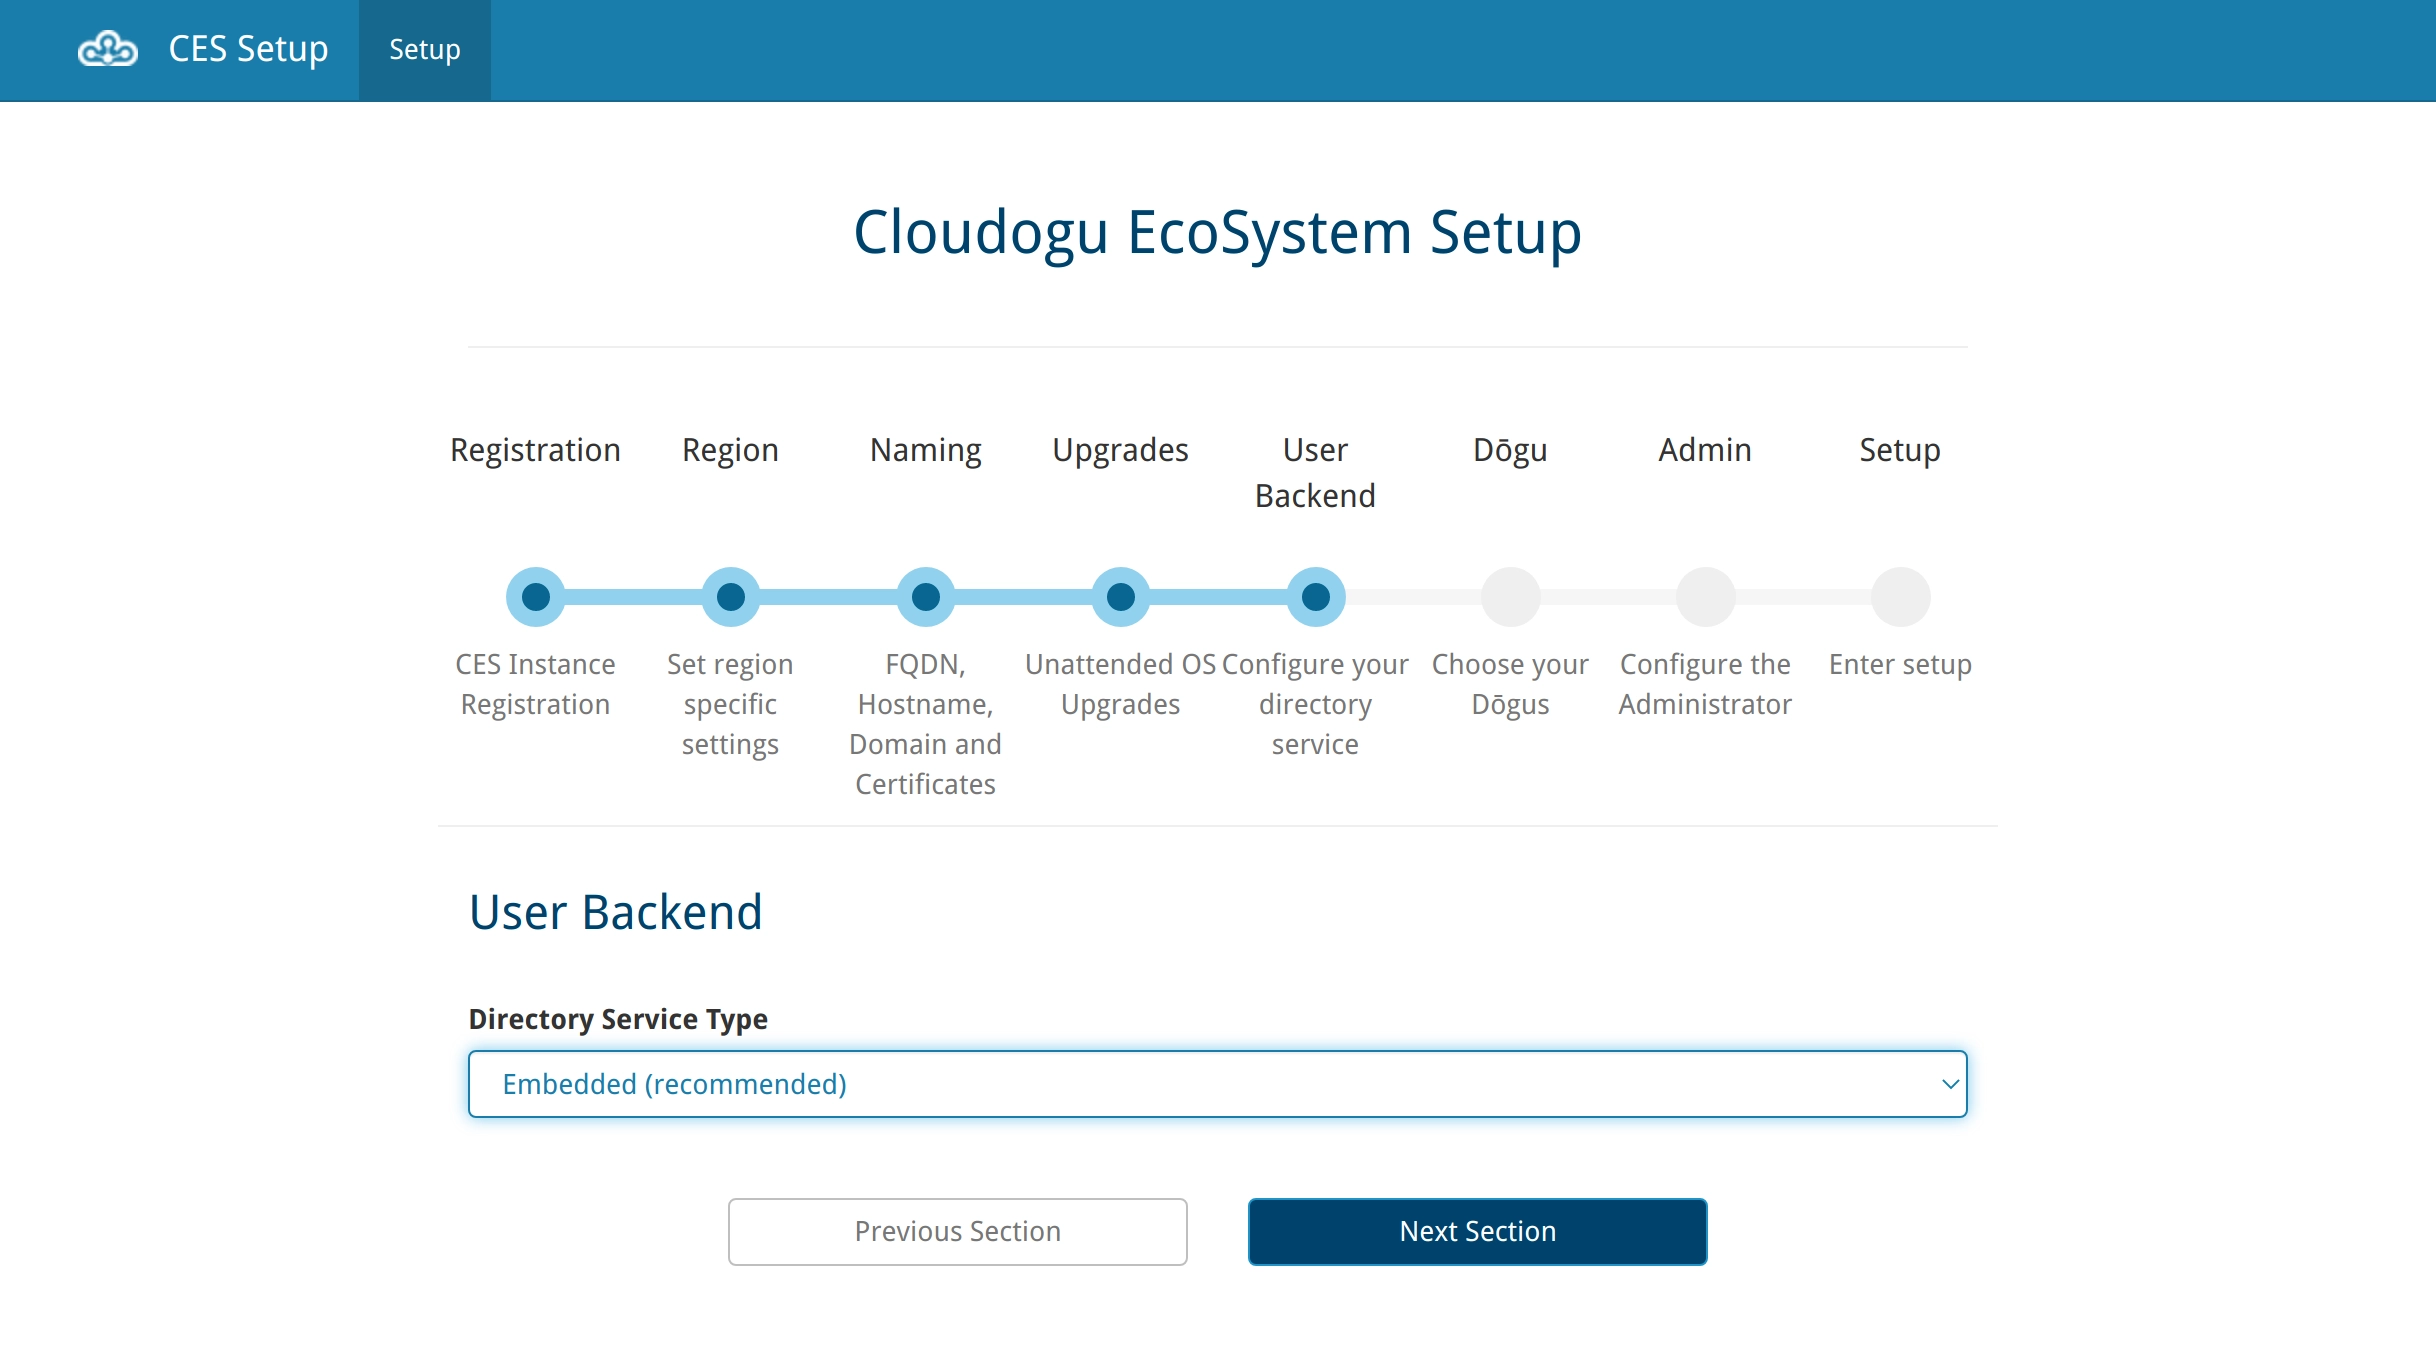
6. User Backend (Configure your directory service)
Please select the desired user administration database. We can deliver an implemented version directly to you. If you already have your own LDAP or Active Directory, you can of course connect and configure it.
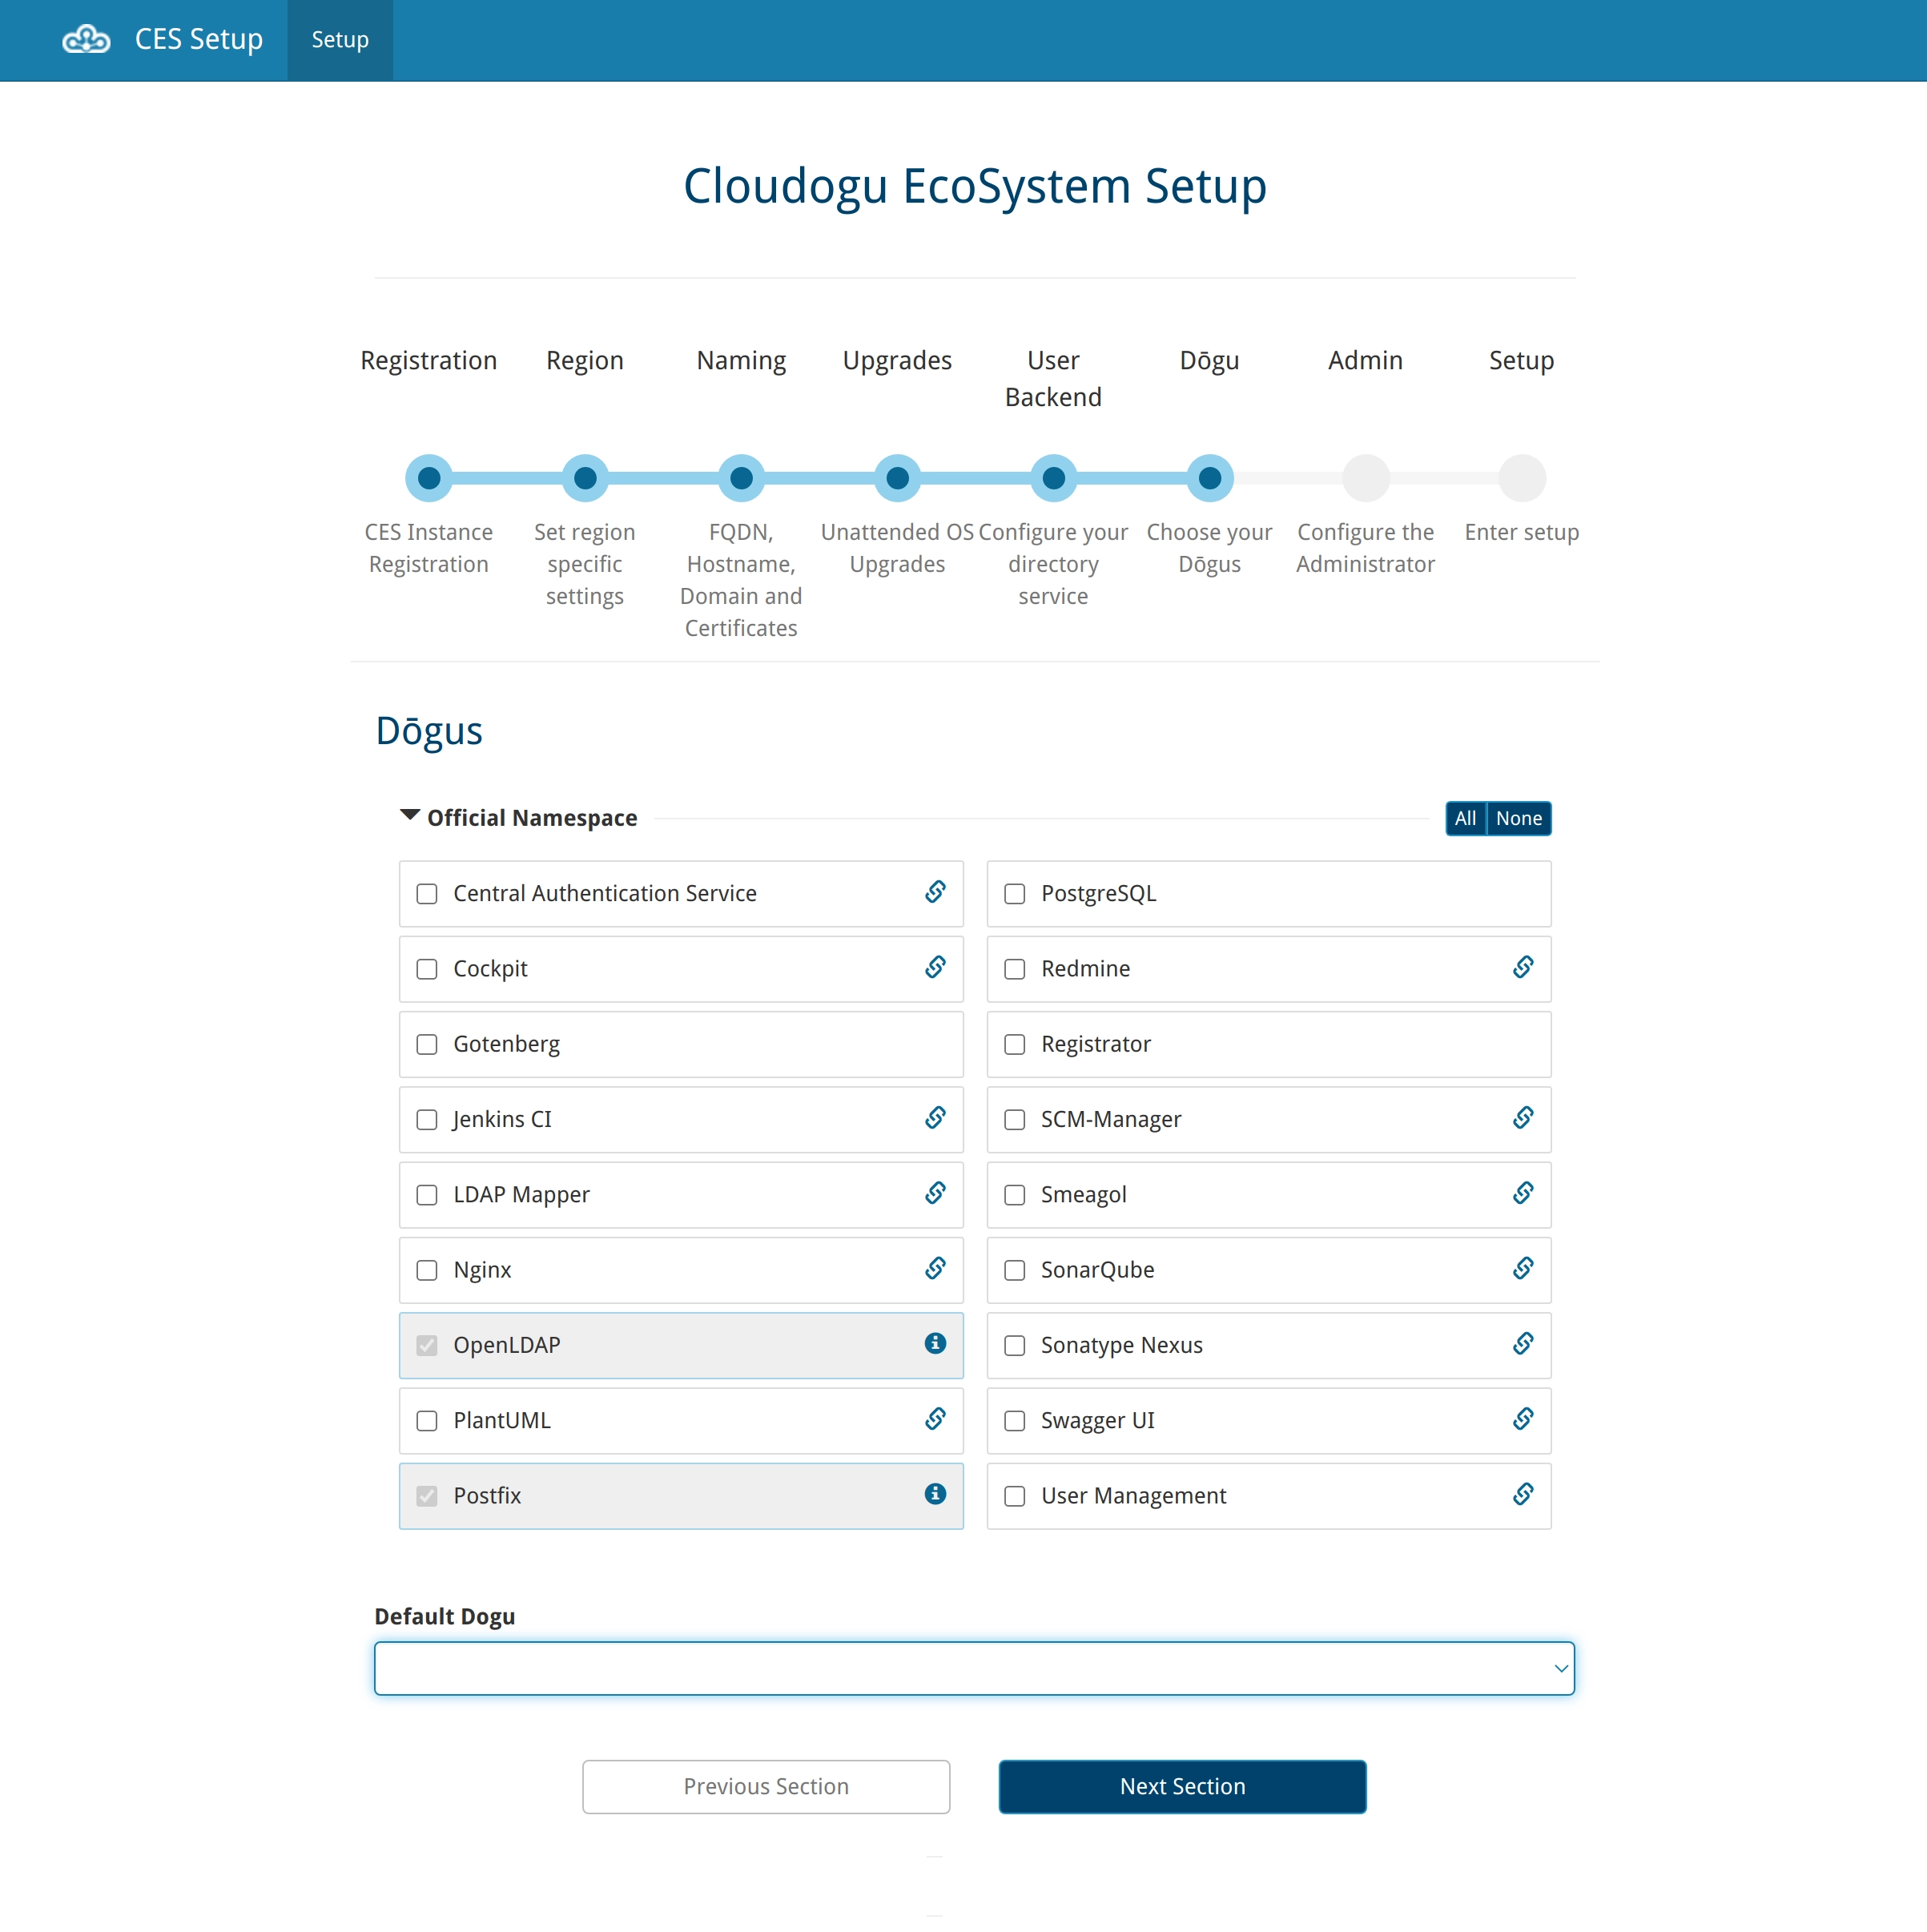
7. Dogu (Choose your Dogus)
Pick your tools (Dogus) and set a Dogu as the start page after login (Default Dogu). If you have any questions, please contact us.
If desired, you can get customized support and custom development packages, e.g. for the implementation of additional Dogus.
Note: Dependencies between Dogus are automatically taken into account. If you select “Jenkins”, for example, then “Central Authentication Service”, “Nginx”, “Postfix” and “Registrator” are also automatically selected, since these are required for the operation of Jenkins.
In the Default Dogu field you can choose which Dogu should be displayed when you first log in to your Cloudogu EcoSystem. This setting applies to all users of the platform.
8. Admin (Configure the Administrator)
In the last configuration step, you will create the first user for your Cloudogu EcoSystem and a group name for administrators.

Note: The administrator group (Admin Group) is a preset group of the embedded Directory Service, which gives members administrative access to the installed tools.
In order to authorize your user as an administrator in the Dogus, select the “Configure the user also as tool administrator” checkbox.
Even if you do not give the first user administrator privileges, this user still has privileges to create additional users in the embedded directory service and to assign administrator privileges.
If you have specified a valid mail relay host, you can optionally choose to have the automatically generated UNIX access data sent to the stored e-mail address. Irrespective of this, they are displayed once after the installation has been completed.
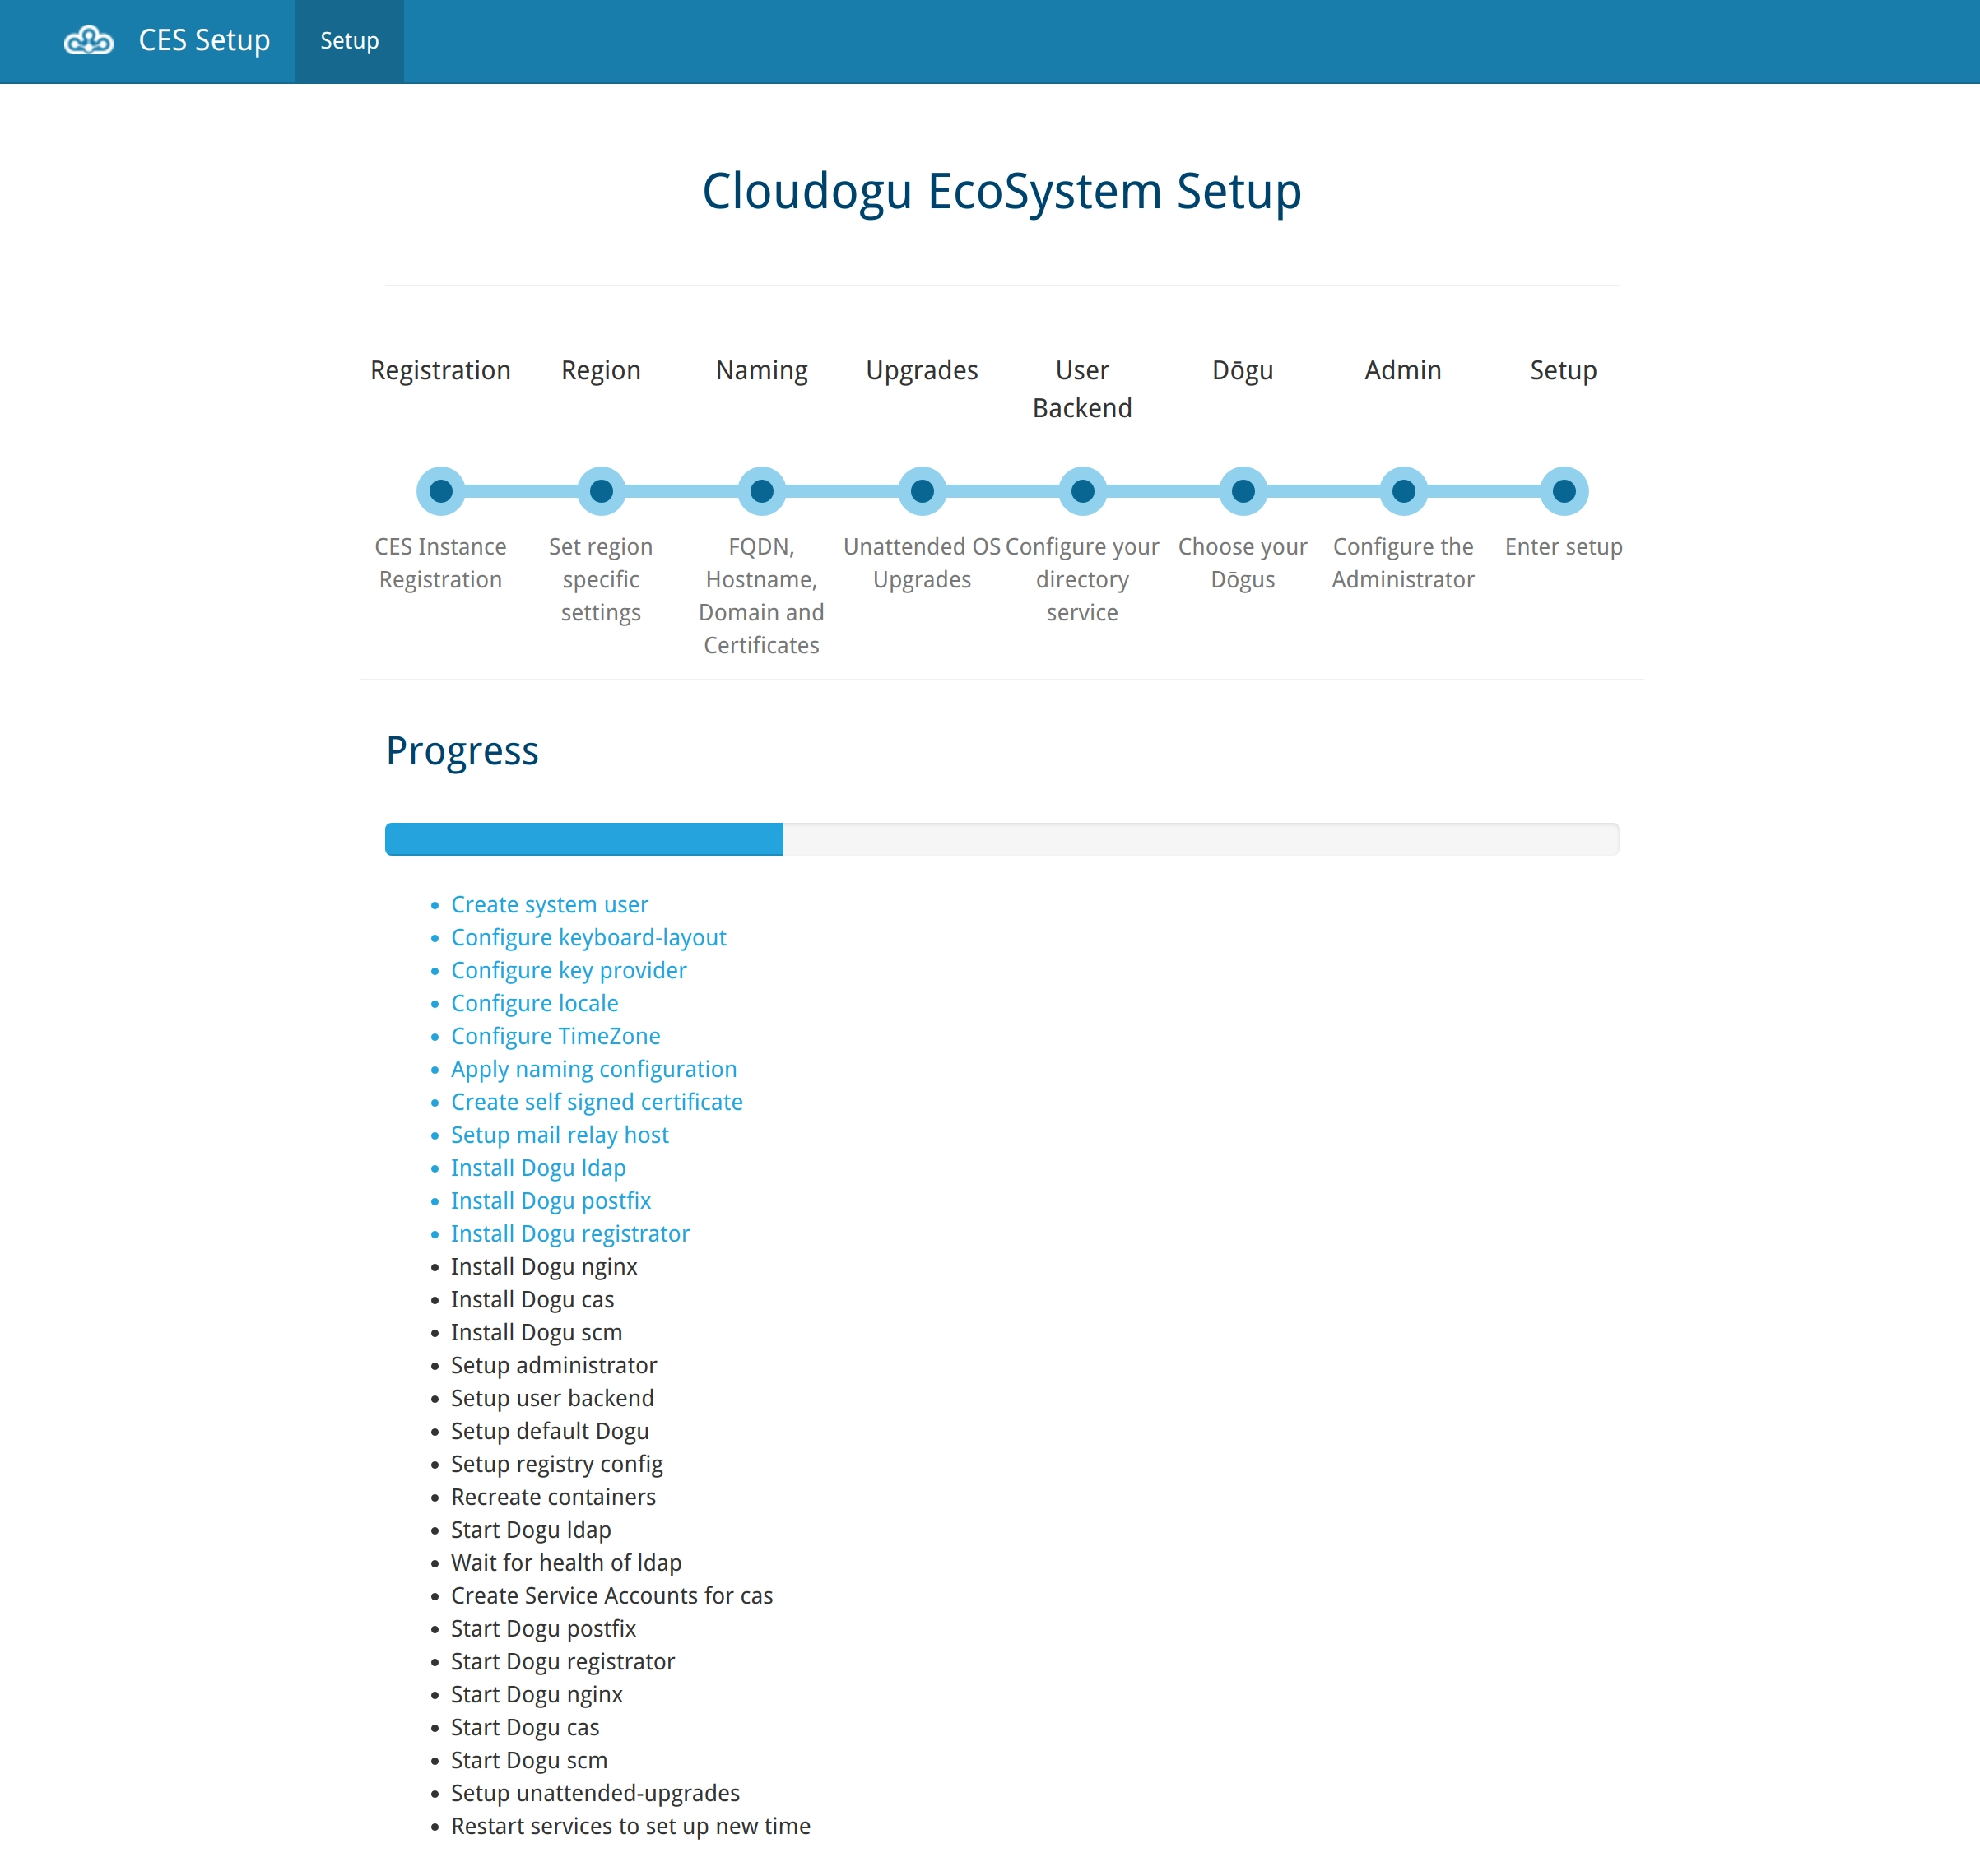
9. Setup
During the last phase you can see how the installation is carried out step by step with the configuration you have created.
Once the setup process has been completed, your UNIX access data will be displayed once. Be careful to save this data to a safe place.
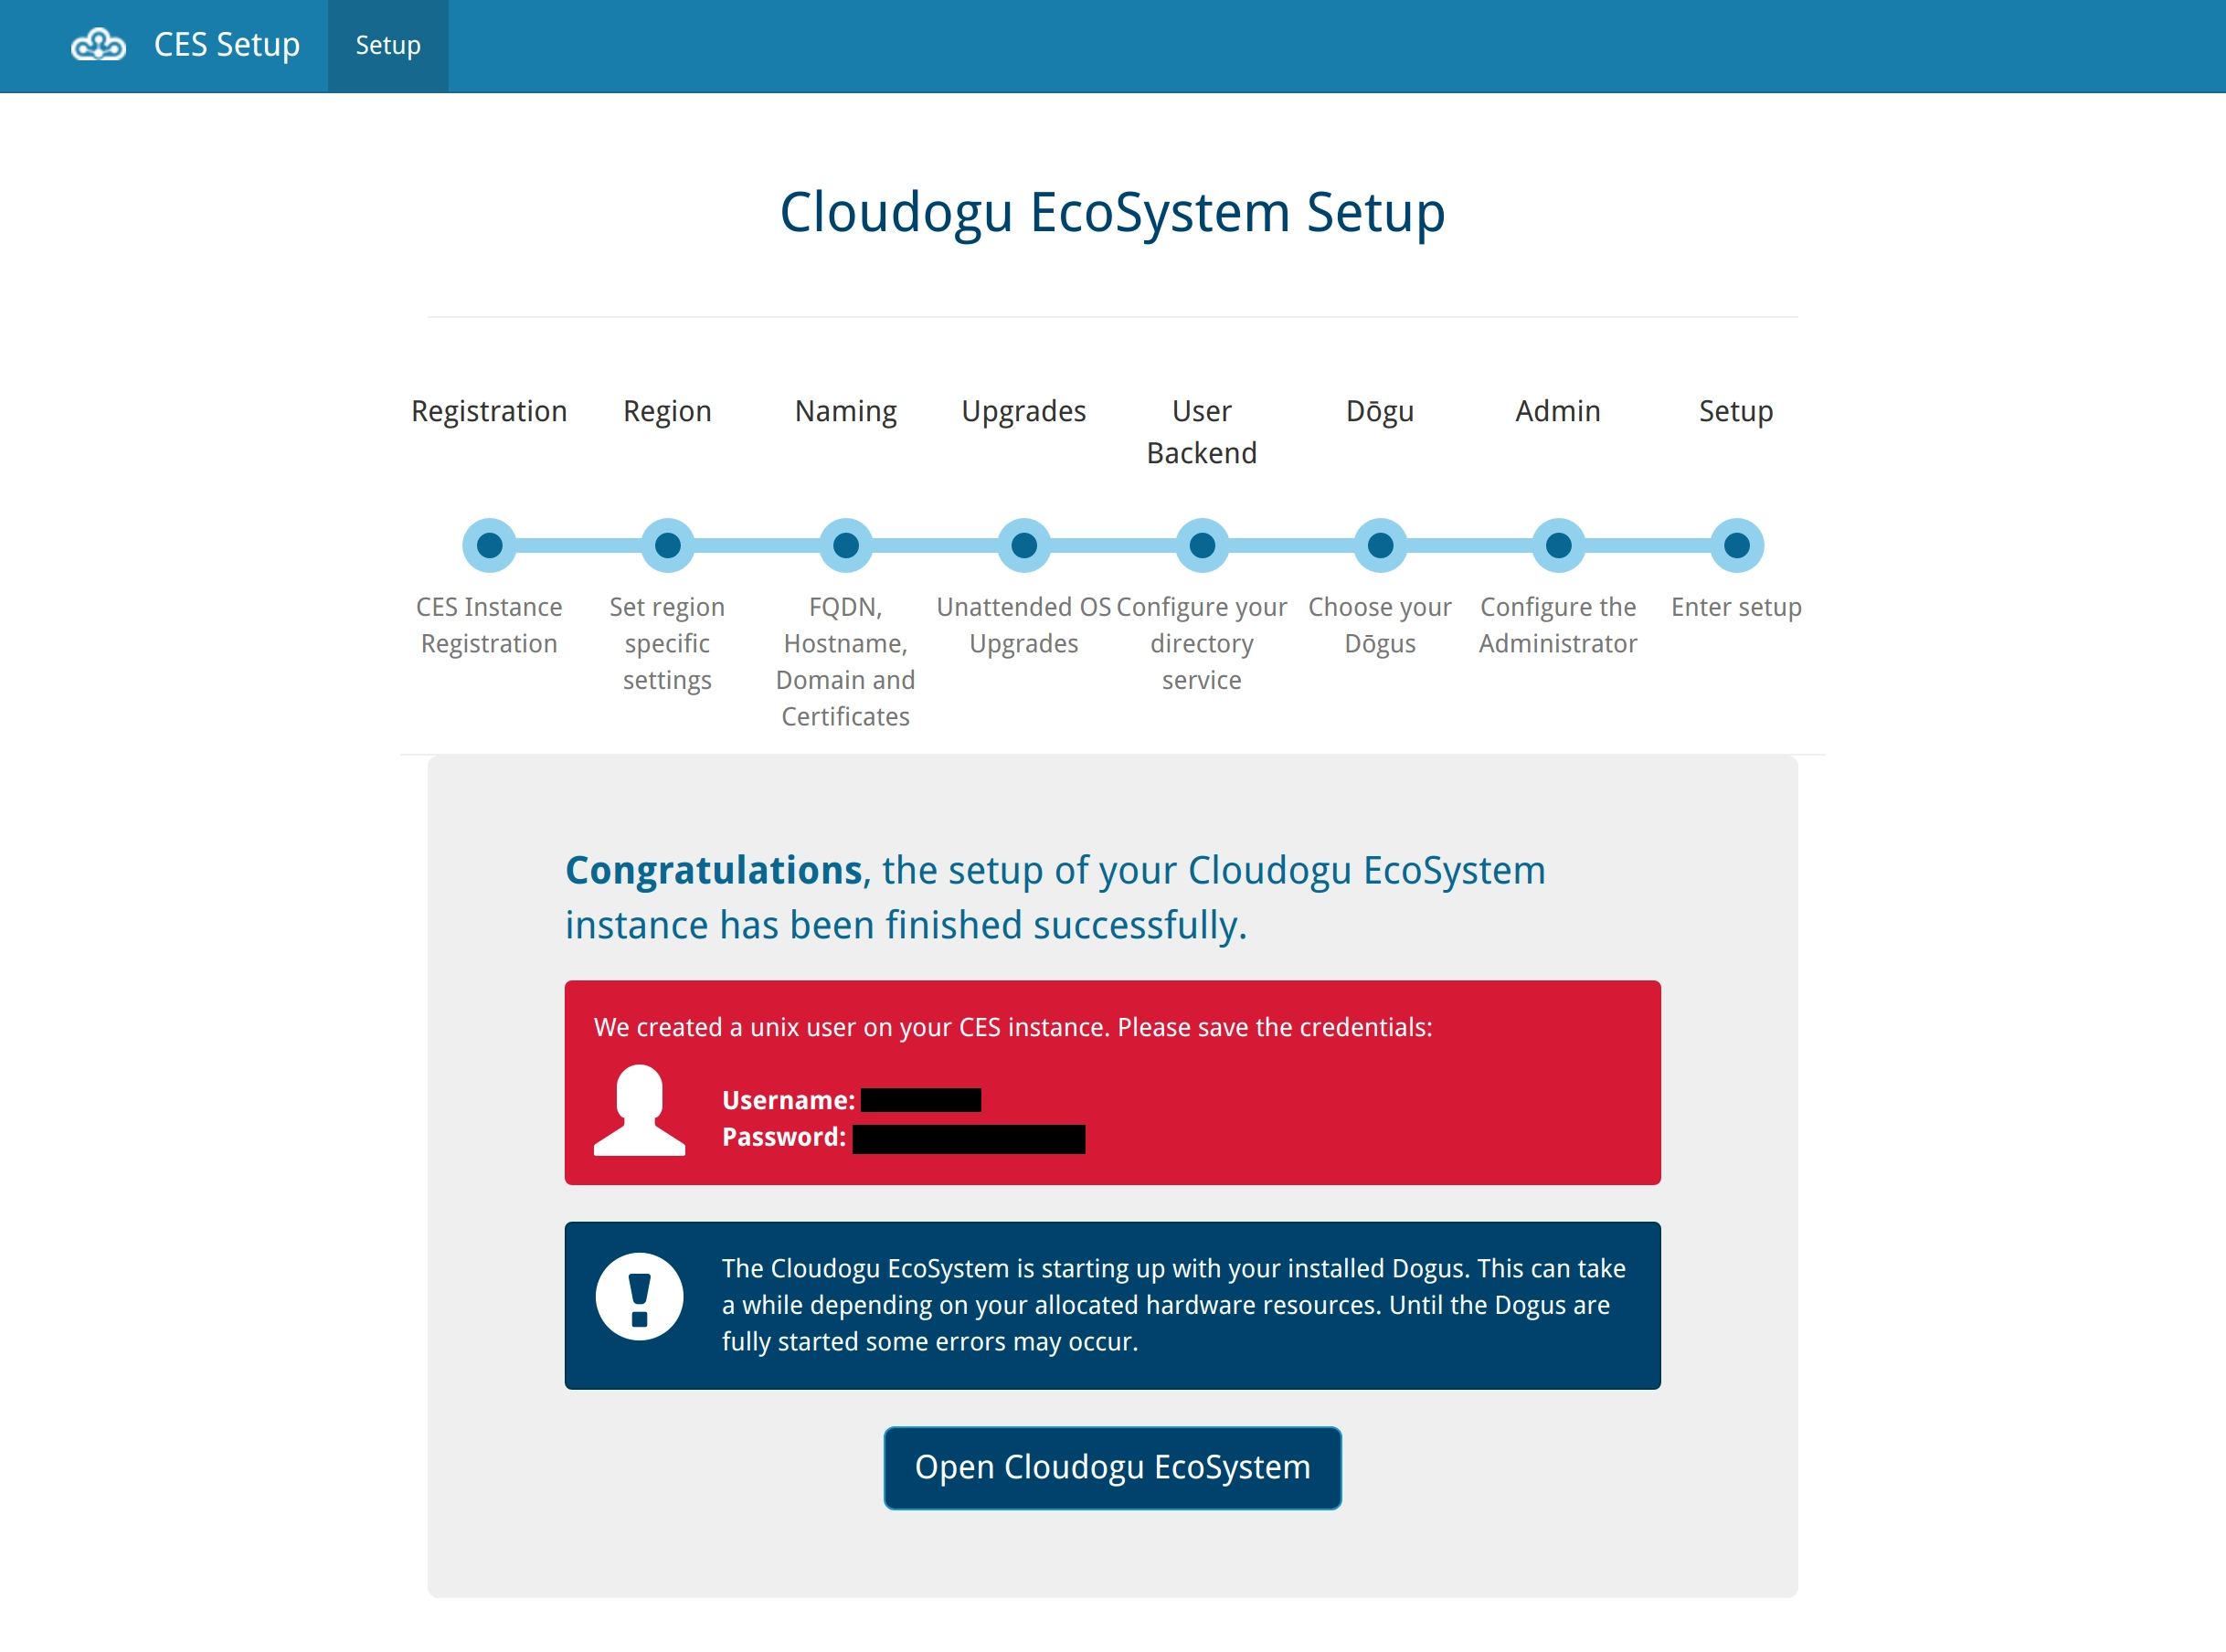
You can also navigate directly to the Cloudogu EcoSystem using the provided link. Depending on the performance specifications of the machine on which you have just installed the Cloudogu EcoSystem, it may take a few minutes until all of the Dogus have launched and you can log in.
This completes the installation of your Cloudogu EcoSystem. You can now start adding users and data to the system.
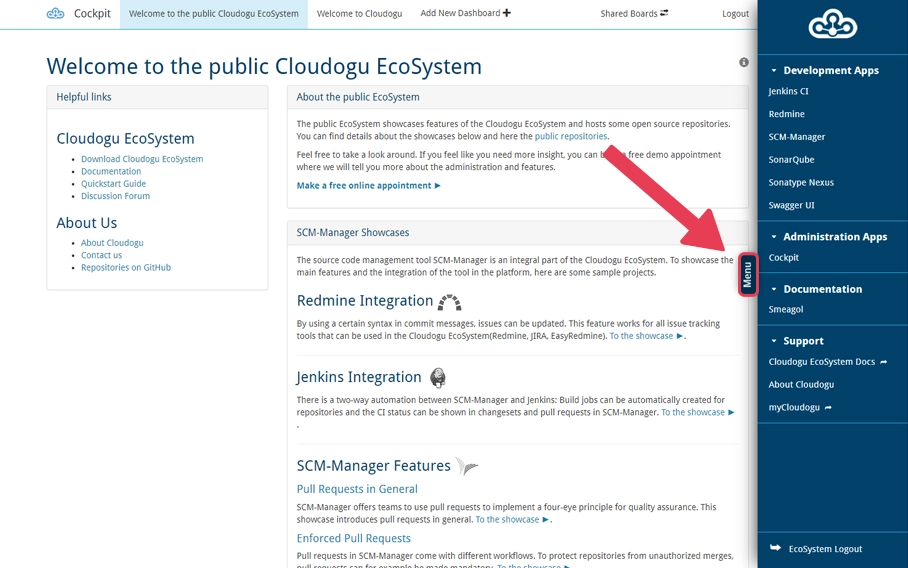
Open the Dogus in your Cloudogu EcoSystem
Depending on which Dogus you have selected, you will now have an extensive selection of different tools that you can choose from. Important: Note the menu button on the right middle edge of the screen. You can use this button to summon the side navigation bar, which will take you to the installed Dogus.