


05/02/2013
in Technology
Getting started with MercurialEclipse
Table of Contents
+++This post was migrated from our former blog about SCM-Manager Universe. Therefore, it is only available in English.+++
Nowadays developer mostly don´t work only with a text editor but with an integrated development environment (IDE). Luckily nearly every IDE can be connected to the version control system of your choice by plugins. This article deals with MercurialEclipse, which is used to work simple and smart with Mercurial repositories out of the Eclipse environment. To facilitate the start, we will show you the installation of the plugin and introduce you to the first steps of Mercurial in Eclipse. The intention of this article is to enable you to configure Eclipse and to check in and out your code.
For those of you who prefer to work with Git, we have another getting started article prepared for you.
Installation of MercurialEclipse in Eclipse
The simplest way to install Mercurial is to go on the Eclipse Marketplace “Help → Eclipse Marketplace” and get the plugin. This way you will get only the plugin and not the Mercurial binaries.
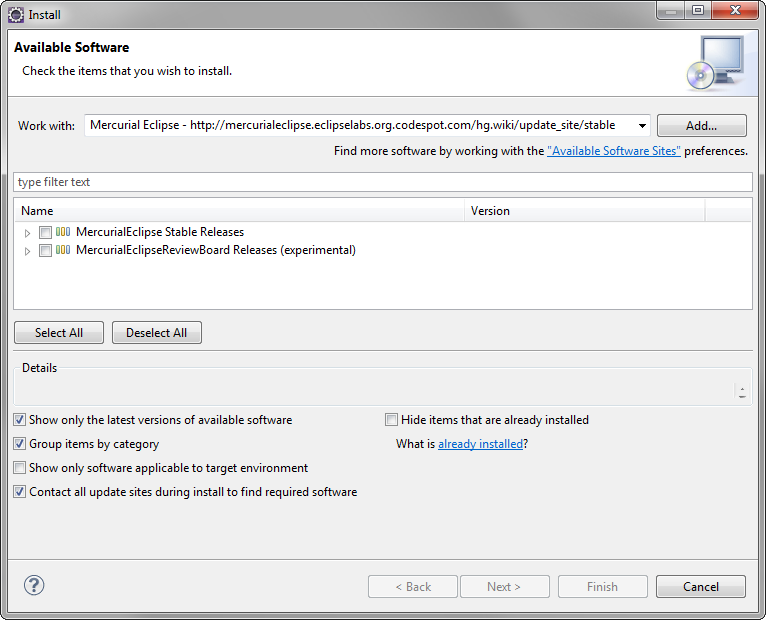
Unfortunately the versions available are not up-to-date. It is probably the best idea to install a discrete Mercurial (for example with TortoiseHG) and then tell MercurialEclipse to use its binary.
Create a repository in Eclipse
If there is already a repository please go straight to the paragraph "Clone Repositories".
In most cases it is advisable to manage one project in one repository. Compared to Git, Mercurial doesn’t allow you to create Subrepositories. For simplicity reasons in this tutorial we only use one project.
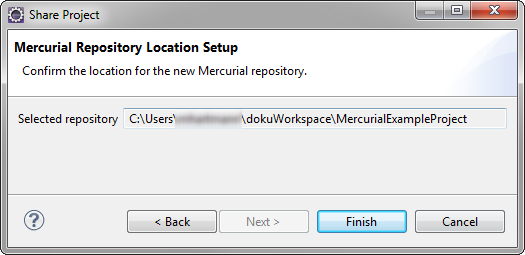
First of all, for this tutorial we are going to add a new Java project select “Project → New → Java Project”. Now mark the project and open the Share Project dialog by right-clicking on “Team → Share Project”.

Typically the project menu will be offered to place the repository. For simplicity reasons we proceed the usual way and confirm the standard setting with Finish.
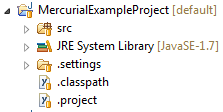
In the project navigator the appropriate ICON to each data file is displayed. The ending “new” after the project name indicates that a new repository has been created.
Clone a Repository from SCM-Manager
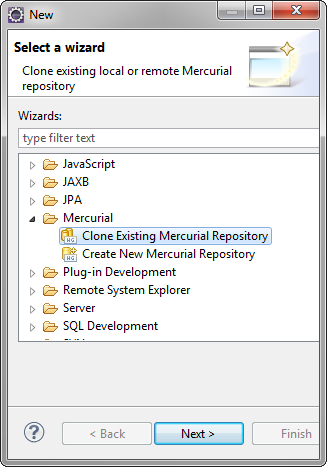
In the previous paragraph we have learned how to add an existing repository to a new project. With MercurialEclipse it is also possible to generate a new project from an existing repository, by clicking “File → New → Project → Mercurial → Clone Existing Mercurial Repository”.
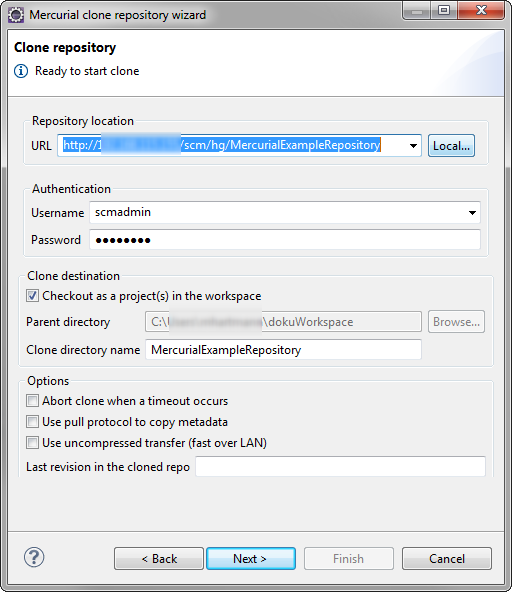
In the following dialog you fill in the URL of the repository you want to clone and your personal login. This information is provided by the administrator. If you use the SCM-Manager you can copy the URL form the repositories information page yourself.

Next step you chose the appropriate revision of the code and you decide which of the found projects should be imported (usually only one is displayed). You can start working with this data straight away.
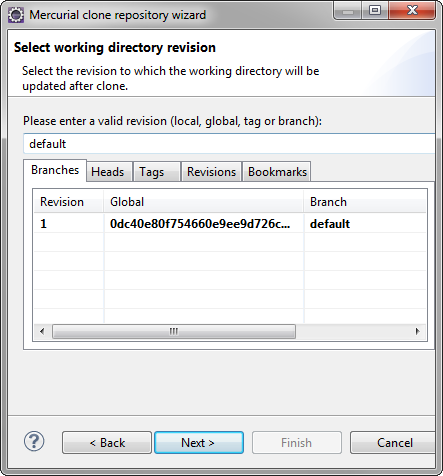
If not specified the wizard will create a new project with the same name as the repository you cloned.
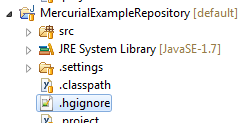
Ignore files from commit
Before your first commit, consider the data-files that should be included in the new version, because you need to configure the .hgignore-file accordingly. This can either be done directly in the specific data-file (which lays in the root of the project) or directly in Eclipse. The data-file .ghignore is compiled by right-clicking on the project folder “Team → Ignore”. Now you have the choice between creating a proper ReExp or selecting an external Ignore-File. Single files or folder can be added by right-clicking on the file and “Team → Ignore”.
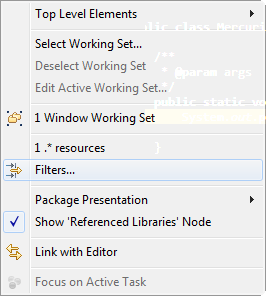
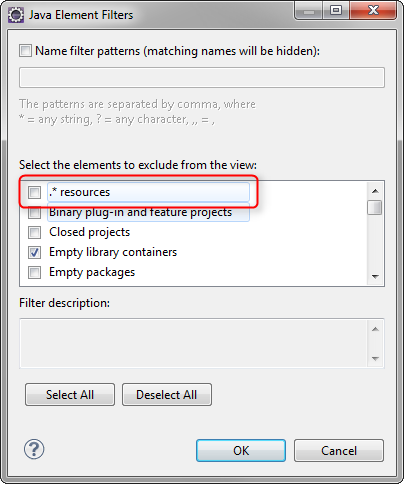
If you want to see the data-files in Eclipse you have to activate files starting with “.” in the filter options.
Finally you need to exclude all files that shall not be part of the revision control.
A hint: .hgignore should be ignored. Ignored files don´t have a marking next to the data-file.
Commit changed code to repository
After all the preparation, you are finally able to commit. It is irrelevant whether you created a new project or cloned an existing one. By clicking “Team → Commit” you can transfer single data-files or even complete projects. In Mercurial it is obligatory to write a Commit Message where you can chose a committer. The option “Revert all unselected files” resets all files that haven’t been committed to the status of the native repository. On the bottom of the page you can finally determine which data-files shall be transferred.
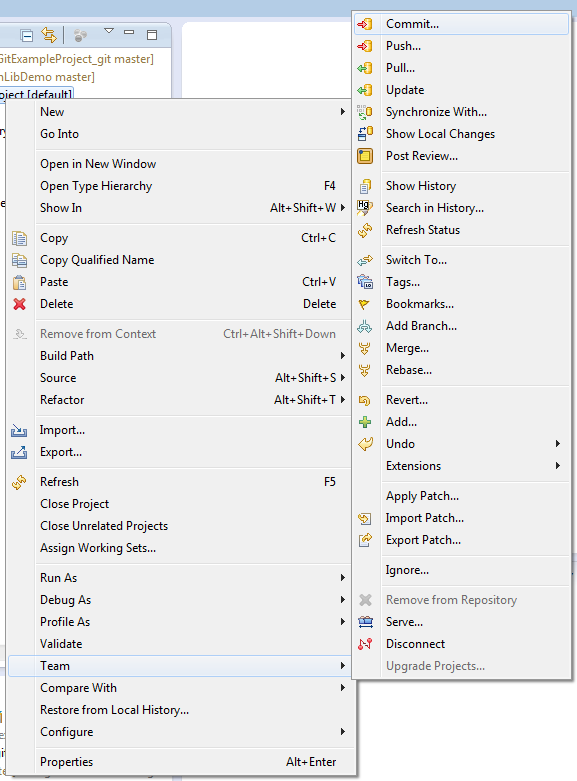

Repository History
Under “Team → Show History” you have access to the history of a resource, either a complete project or single files. The label “head” always shows you the latest version of a file across all branches.

Mercurial and SCM-Manager
Now you can use Mercuial in Eclipse. However, if a project requires another VCS like Git or even Subversion, you can use SCM-Manager to host and manage different kinds of repositories through the same application and via UI.
SCM-Manager
The easiest way to share and manage your Git, Mercurial and Subversion repositories.
Getting started

