The Smart Wiki that Lives with the Code
Cloudogu EcoSystem quickstart guide

EcoSystem Toolbox Part 1: Smeagol
In software development it is crucial to share information; no matter what kind of information. Whether it is about technical or functions details or about requirements; good knowledge management helps you to focus on your work and to prevent mistakes. Probably you know this first hand: it is easy to start documenting something, but the difficult part is to keep it consistent, in a central location and up to date. Once a project has been running for some time you often spend quite some time to search folders for some specific document or you create new documents, because you didn’t know there was already a similar one.
Why Smeagol is so helpful
Smeagol is a wiki that stores your documentation in the project’s Git repository and offers different ways to edit the content. This way it addresses the mentioned challenges:
- Since you can store all different kinds of information in the wiki and you can link files easily, it can be your SPOC for information.
- The wiki can be edited via web UI or directly through the IDE. Therefore, it is easy to use and everyone can use their method of choice; no excuses not to write something down.
- Because it is part of the Git repository you can store information for different branches. That means it is part of your Git workflow and therefore it is always directly associated with the code. Hence, you can easily find out what details relate to decisions that were made.
How to use it
Note: Because contributing to the wiki with your IDE is pretty much the same as writing and committing code, we will focus on Smeagol’s web UI in this post.
Enable the Wiki
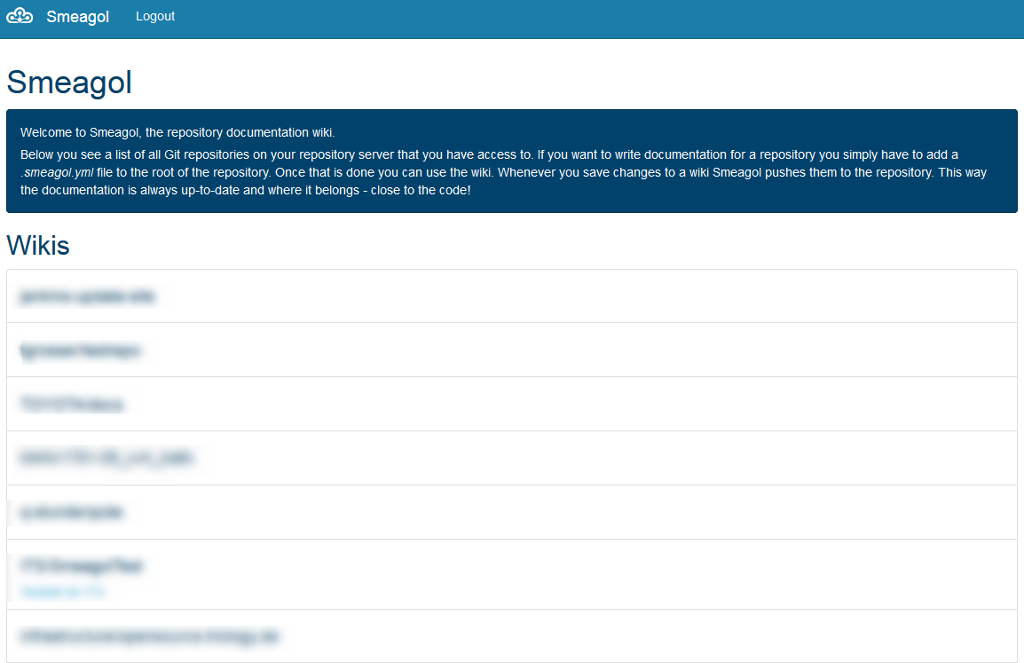
Using Smeagol is pretty simple. You only need to add a smeagol.yml file to the root folder of a repository to “activate” it. After that you can access the repository’s wiki through your browser. You can either navigate there directly (https://yourEcoSystem/smeagol/) or use the EcoSystem’s Warp Menu.
There you can see all the repositories that you have permissions for in SCM-Manager, not just the ones that Smeagol has been activated for.
Create the First Page
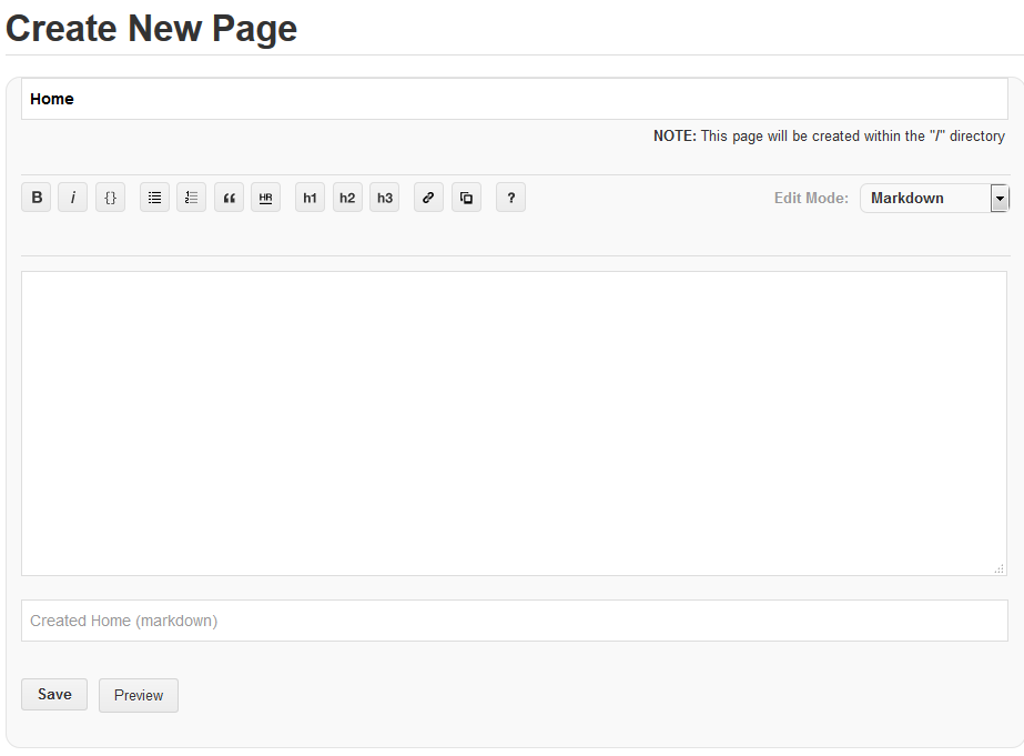
Select the repository that you want to add a wiki to and, if the repo has branches, select a branch. After that you will see the editor to create your first wiki page.
Note: If Smeagol has not been “activated” for a repository, you will see an error message after the branch selection.
Now you can already start to write your documentation. For that you can choose between several different languages, e.g. Markdown. Once you are done, you can commit your first page to the repository. All you need to do is to hit the “Save” button. Then, Smeagol will use the default commit message and push the page to the repository. For each page you create with Smeagol, a .md file gets created in your repository. If you want to add images to the wiki, you only have to add them to the repository before you can insert them into the content.
Make Changes
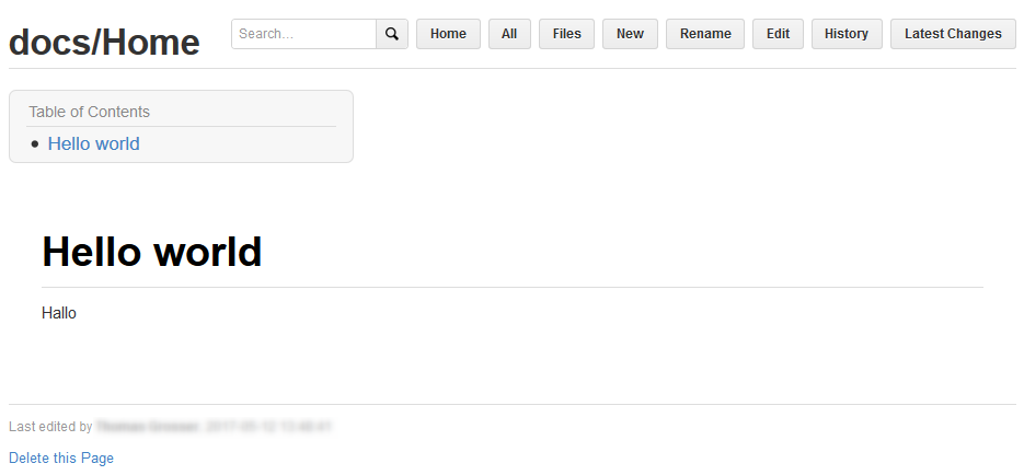
After you created the first page, you will see more options, like “New”, for new pages, “Rename” or “Edit”, on the wiki page.
Once a wiki gets bigger, it might be difficult to keep track of what is written down where. Fortunately, Smeagol organizes pages in a tree structure and you can see it under “Files”.
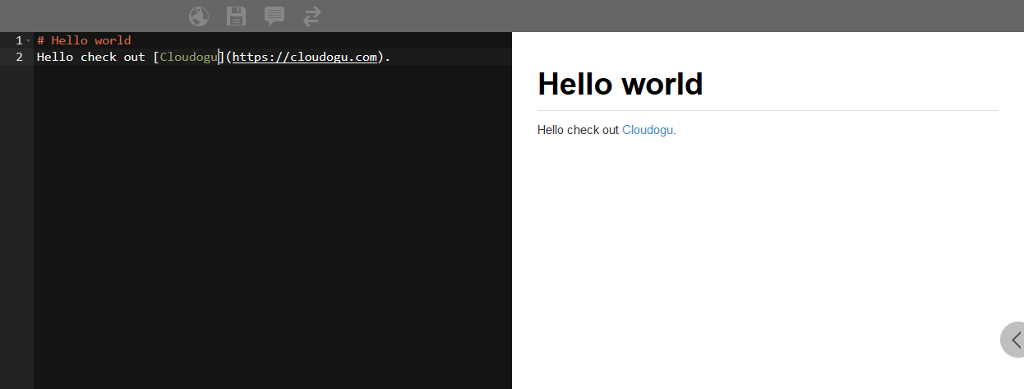
When you decide to edit an existing page, you can use the editor with live preview.
Hint: The preview only works for Markdown and Rdoc.
Additionally Smeagol provides features like “Latest Changes” and “History”, which allow you to see how the page has changed over time. While the history shows you the commit history of the wiki, the latest changes cover the whole repository.
Conclusion
Smeagol is a simple but powerful addition to your set of applications, because it supports up-to-date documentation, whereby outdated or scattered documentation is often a source for miscommunication and errors. Therefore Smeagol helps you to improve quality and efficiency by providing an easy way to create and modify your documentation.
Cloudogu EcoSystem
Convince yourself of the advantages of the Cloudogu Ecosystem. Use the modern DevOps platform now for free.
Learn more about it
